- 20th March 2017
Sewing Rompers

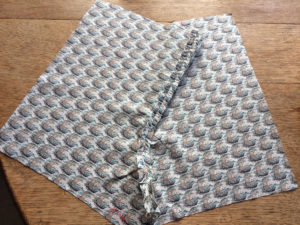
From our first show at Woolfest last year we realised there was a small problem with our kits. So many people said that they wanted to buy one but they had baby boys. Not wanting to scar child for life by having him turned out in a dress we now have Dipper, for both boys and girls.
Rompers present a little more of a sewing challenge than the skirt but here are a few hints and tips we hope will help you out if you are a novice at the machine. The Liberty Tana Lawn is very forgiving so don’t worry if you make a mistake and have to rip out. I’ll use the same headings as those printed in the pattern so you can jump in at any point you like. The pattern instructions are shown in blue and the explanations and tips in black.
Sewing the Rompers Tailors Tacks and Notches
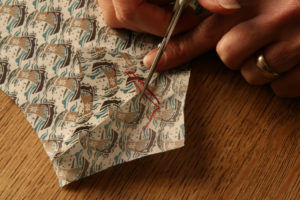
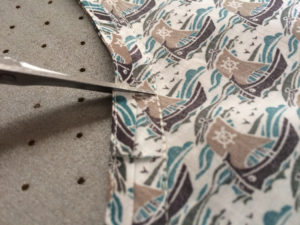
Notches help you match up the centre front and back seams and match the front to the back at the side seams. Make a short nick with a pair of sharp scissors at the markings.
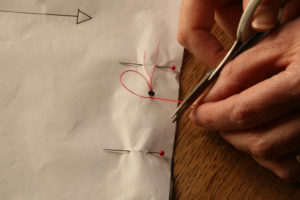
The dots also help match up the pattern pieces. These are marked with tailors tacks. Thread a needle with contrasting thread and make a stitch through the pattern paper and both layers of fabric leaving a long tail. Make another stitch on top of the first leaving a loop the same length as the tail. Snip the thread leaving the tail long.
Remember to mark the dot at the top of the front pattern piece so you know which is the front and back when you sew the romper to the bodice.
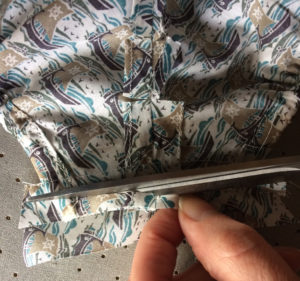
Unpin the pattern and gently pull off the pattern paper, open out the two layers of fabric and cut the threads between them leaving a tuft on either side.
Sewing the Front and Back
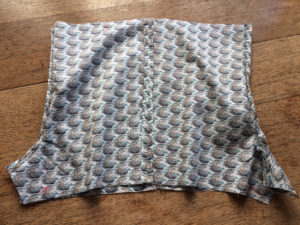
With right sides together sew the centre front seam. (Fig 1.) Reinforce the curved area of seam by sewing another line of stitches over the first.
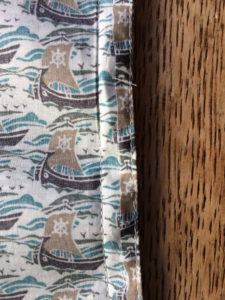 You clip the curved area so that the seam can be pressed flat so it needs double stitching for a little more strength. Do your best to stitch on top of the original stitching line. To keep myself on track I watch the stitching in front of my machine foot not the needle. Watching a bobbing needle is distracting and may throw you off course.
Neaten the raw edges, using your preferred method, clip the curve being careful not to cut through the stitching and press the seam open. (Fig 2.)
I neaten my seams by pressing the raw edges of the seam to the wrong side and sewing close to the edge of the fold. You could choose to zig-zag the edge or use pinking shears. Liberty Tana Lawn is very closely woven so it doesn’t fray too much. Remember to neaten your seam before you clip the curve. When it comes to clipping use small sharp scissors and snip as close to the stitching as possible but being very careful not to clip the stitches, so do it in stages if you are nervous.
Sew the centre back seam in the same way, reinforce the seam, neaten, clip and press open
With right sides together sew the front to the back at the side seams. Finish the raw edges and press the seams open. (Fig 3.)
These seams are almost straight so will press flat without clipping.
Make a Casing for the Elastic
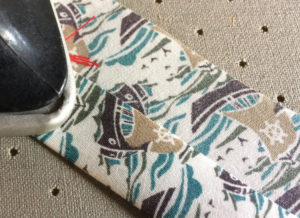
Press under 0.5 cm to the wrong side along the bottom of each leg. Then fold again by 1cm to make a narrow casing. Press well. (Fig 4).
Stitch along the upper fold as close to the edge as you can. (Fig 5.)
Again it’s easier to keep your line straight and close to the edge by watching the fold in front of the foot not the needle and when it comes to straight lines I don’t sew too slowly. There’s more time to wobble if I do. Practise on a scrap of fabric to get your eye in.
Insert the Elastic
Cut the elastic in half.
Fasten a small safety pin through one end and thread through the casing.
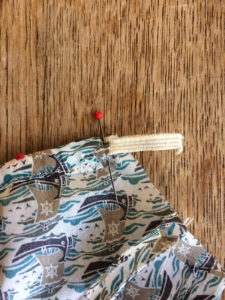
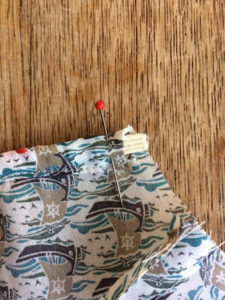
For the small size extend the elastic 1cm at each end of the casing, for the larger size the ends of the elastic should line up with either end of the casing.
Top photo shows the position of the elastic on the small size the bottom shot shows the larger size. Remember to pin the end before you loose it down the tunnel.
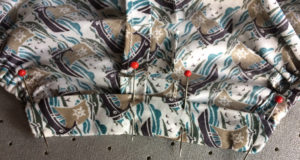
Secure with a pin at either end to prevent the elastic slipping through. Remove the safety pin.
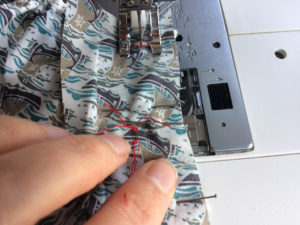
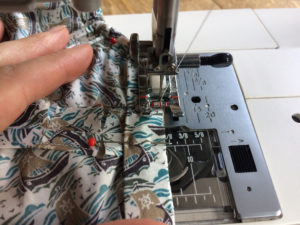
Sew across the casing several times at the marked dots then remove the pins. (Fig 6)
The dots are marked with red tailors tacks. I use the reverse function on my machine to make three or four passes over the elastic and make sure it is sewn securely before I remove the pins.
Facings
Press under 1.5 cm to the wrong side along the long edge of each facing.
Unfold and with right sides together lay the short edge of the facing along the bottom of the rompers lining up the dot with the centre seam.
Stitch along the seam line. (Fig 7).
Trim the seam and press the facing to the wrong side.
Trim the seam with sharp scissors to about half its width. I keep a finger underneath to make sure I don’t cut into the facing. Press the facing along the stitching line to the wrong side of the romper
Fold under the long top edge of the facing along the original crease line and pin in place. (Fig 8)
Tuck in the two short ends of the facing.
Pin, press, and then sew as close as possible to the folded edges.
For extra security you could tack the facing in place and remove the pins before sewing around the edge. Sew as close to the edge as possible. For neat cornering leave the machine needle in the downwards position and swivel the fabric.
Attach the Romper to the Bodice
At the top of the romper fold the raw edge under by 6mm to the right side, then fold again. Press and then stitch close to the fold.
The measurement isn’t critical, I just eyeball 6mm a notch narrower or wider doesn’t matter just make sure it is an even depth and not too thick and clumsy. Make a second fold enclosing the raw edges and press well before sewing close to the upper fold.
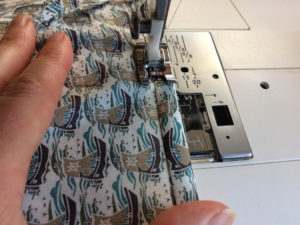
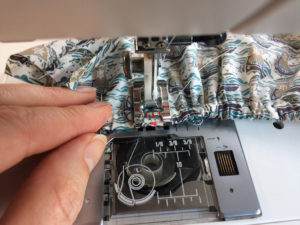
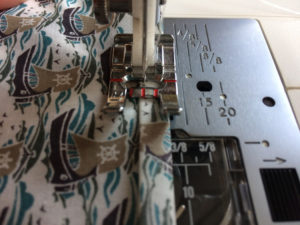
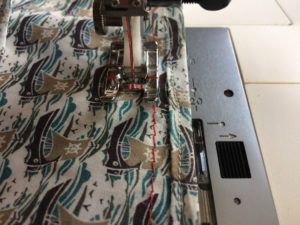
Loosen the upper tension of your machine and make the stitch length longer. Then with the right side of the fabric facing and starting at the same side seam each time, sew two parallel rows of gathering stitches. 1.4 cm and 1.6 cm from the top edge of the rompers.
Cut the threads leaving them long. (Fig 10).
Return the stitch length and tension back to its usual setting!
Use the markings on the machine foot and base plate as a guide or you could mark the base plate with removable masking tape or washi tape. To keep track of which thread is which I sometimes change the bobbin thread to a contrasting colour. Remember to change the bobbin thread back to one that matches the fabric when you return your stitch length and tension back to the normal settings
Attach the Romper to the Bodice
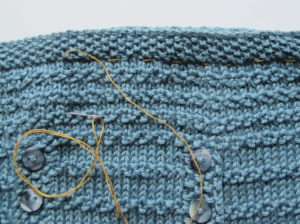
Using a contrasting colour sew long loose tacking stitches around the top edge of the knitted bodice border.
Measure the circumference of the bodice at the position just marked with the tacking stitches.
Gently pull the gathering threads on the wrong side of the fabric until the rompers are the same circumference as the bodice. Secure the gather at each end by wrapping the thread around a pin.
Spread the gathers out evenly. (Fig 10)
Gather the fabric by pulling on the bobbin threads, the ones on the wrong side of the fabric and in a contrasting colour if you changed the bobbin. You can pull up the gathers from both ends but wrap the end you are not tugging on around a pin in a figure of eight. You don’t want to pull the whole lot out. Remember always pull the bobbin threads, if you pull the top thread the stitches may lock up and not pull evenly.
Mark the centre front and centre back of the bodice with pins.
Tuck the romper, right side out, under the bodice border. The front panels of the romper are those marked with tailors tacks.
Match the side seams and the centre back and centre front of the romper with the pin markers on the bodice.
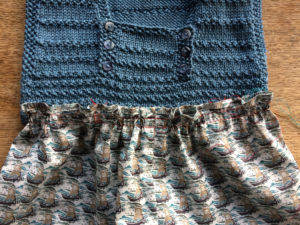
Line up the tacking stitches on the bodice, down the middle of the gathering stitches. (Fig 11).
I usually pin the bodice to the romper then take them out one at a time as I tack the bodice and skirt together. Remove all pins before you start to sew on the machine.
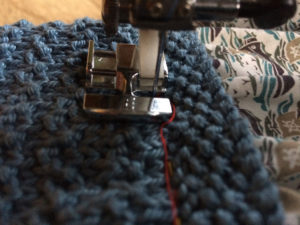
Change the top thread to match the knitted fabric then sew close to the top of the border from the right side, using a zipper foot if you have one.
Remove the tacking stitches and gathering stiches.
This is where the handy contrast tacking stitches come in useful. Just sew along the dotted line. There is no need to change the bobbin thread as that matches the fabric.
Sew slowly and straighten the gathers of the romper as you go. Check occasionally to make sure you are not catching in any other part of the fabric.
When you have finished sewing and before you remove the gathering threads or tacking stitches check that you haven’t caught in anything you shouldn’t. If you have just unpick that section, no need to do the whole lot and re-sew.
Pull out the tacking and gathering stitches. You will probably have caught some in with the stitching so use a pair of tweezers to give them a tug. Just make sure you don’t pull on the sewing you have just done!
Sew on the Press Studs
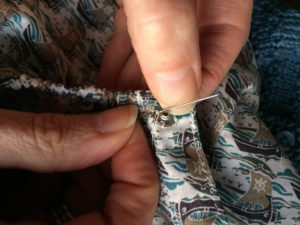
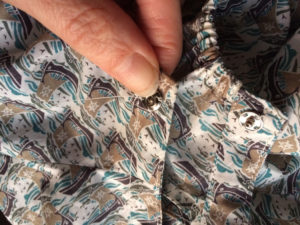
On the wrong side sew the bobble halves of the press studs to the front facing. (Fig 13).
On the right side sew the socket halves of the press studs to the bottom of the back gusset. (Fig 14).
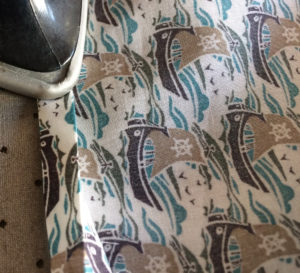
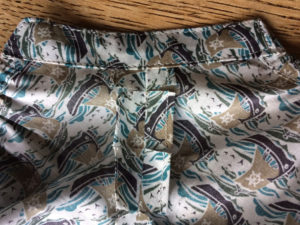
Tidy up the ends and give the romper a good press to smarten it all up. Take the nose of the iron into the gathers rather than across them so you don’t flatten the gathers after all the effort of putting them in!

