

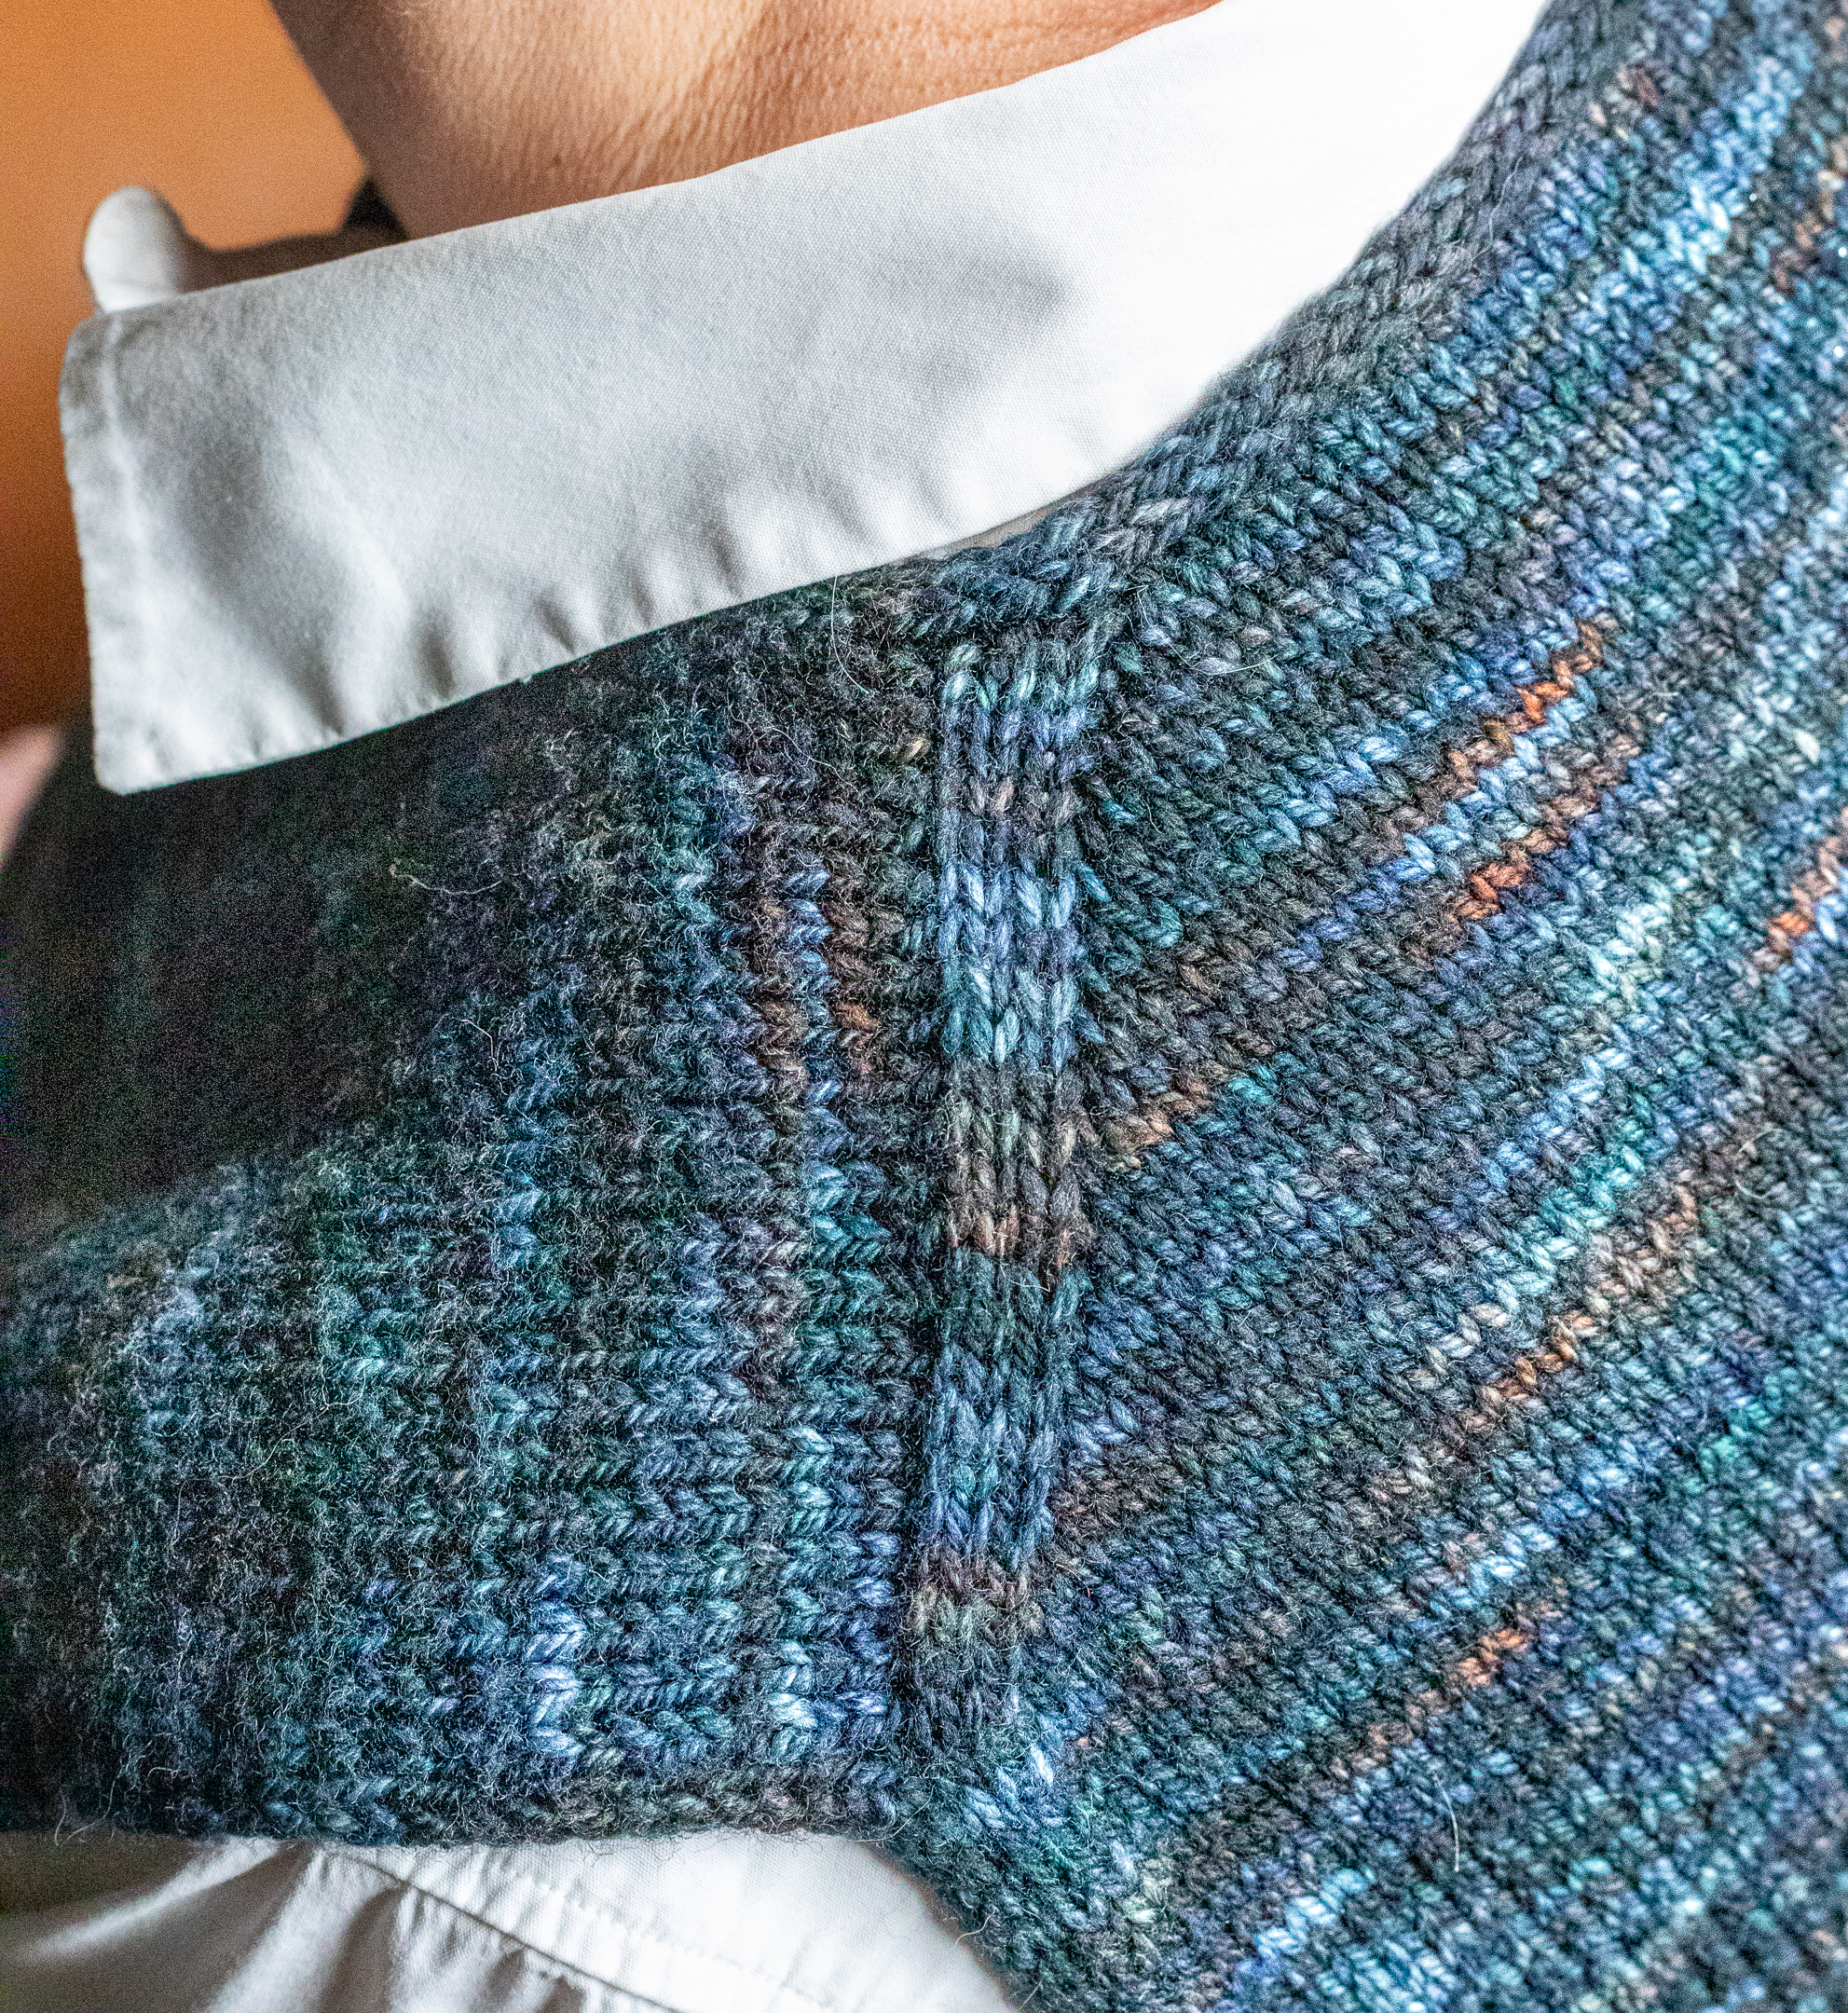
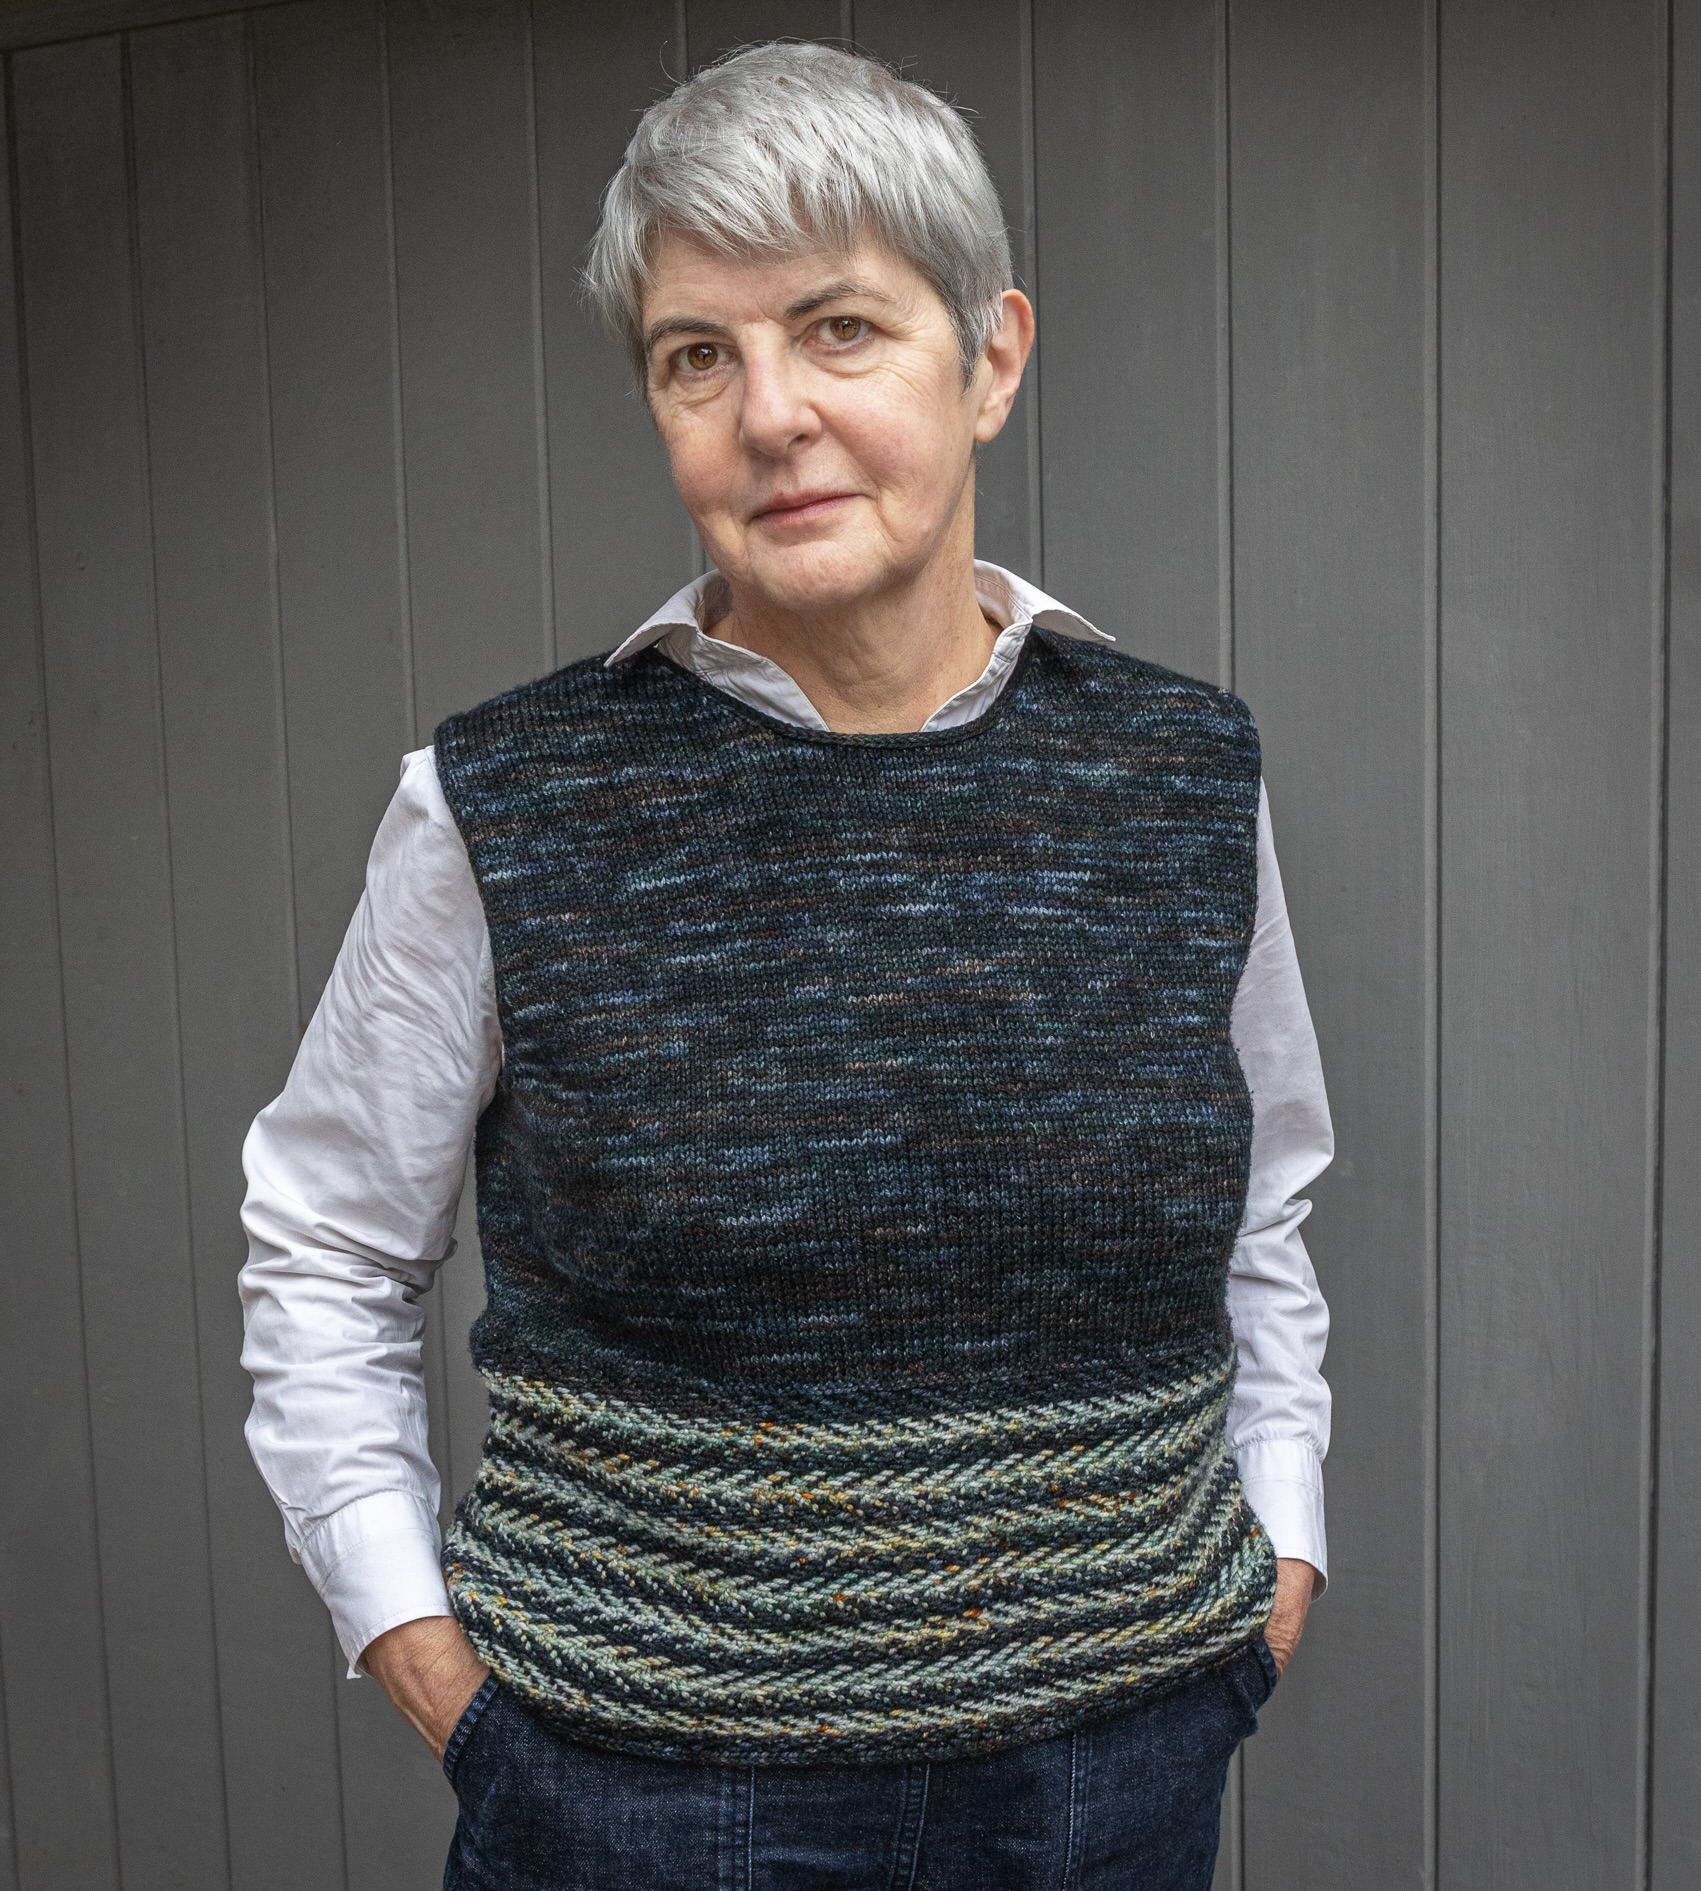
Our latest design the Freight Pullover is cast on at the back neck and lifted increases are used to create the shoulder ‘seams’. It’s a nifty method developed by Julie Weisenberger of Cocoknits. Now these increases are not so commonly used so a tutorial may be handy to have by you when you are starting the pullover. There is a more condensed pdf attached to the bottom of this post which you can open or print out
The increases can be right leaning and left leaning and can be worked on both the knit side and purl side as they are in the Freight Pullover where you need to increase your stitches rapidly to form the shoulders. The increase is made from lifting the left or right leg of a stitch previously worked in the row below and leaves a smooth fabric, no bumps or holes.
As with all knitting directions abbreviations may vary, I’ve used the abbreviations that seemed most logical me!
KLL: Knit Left Loop – you knit the left loop of the stitch previously worked, (an alternative name is LLI – Left Lifted Increase). Counter intuitively, or at least to me this increase leans to the RIGHT!
KRL: Knit Right Loop – knit the left loop of the stitch previously worked, (alternative name RLI – Right Lifted Increase). This increase leans to the LEFT.
PLL: Purl Left Loop – purl the left loop of the stitch previously worked, (an alternative name is LLPI – Left Lifted Purl Increase). This increase leans to the left.
PRL: Purl Right Loop – purl the right loop of the stitch previously worked, (an alternative name is RLPI – Right Lifted Purl Increase). This increase leans to the right.
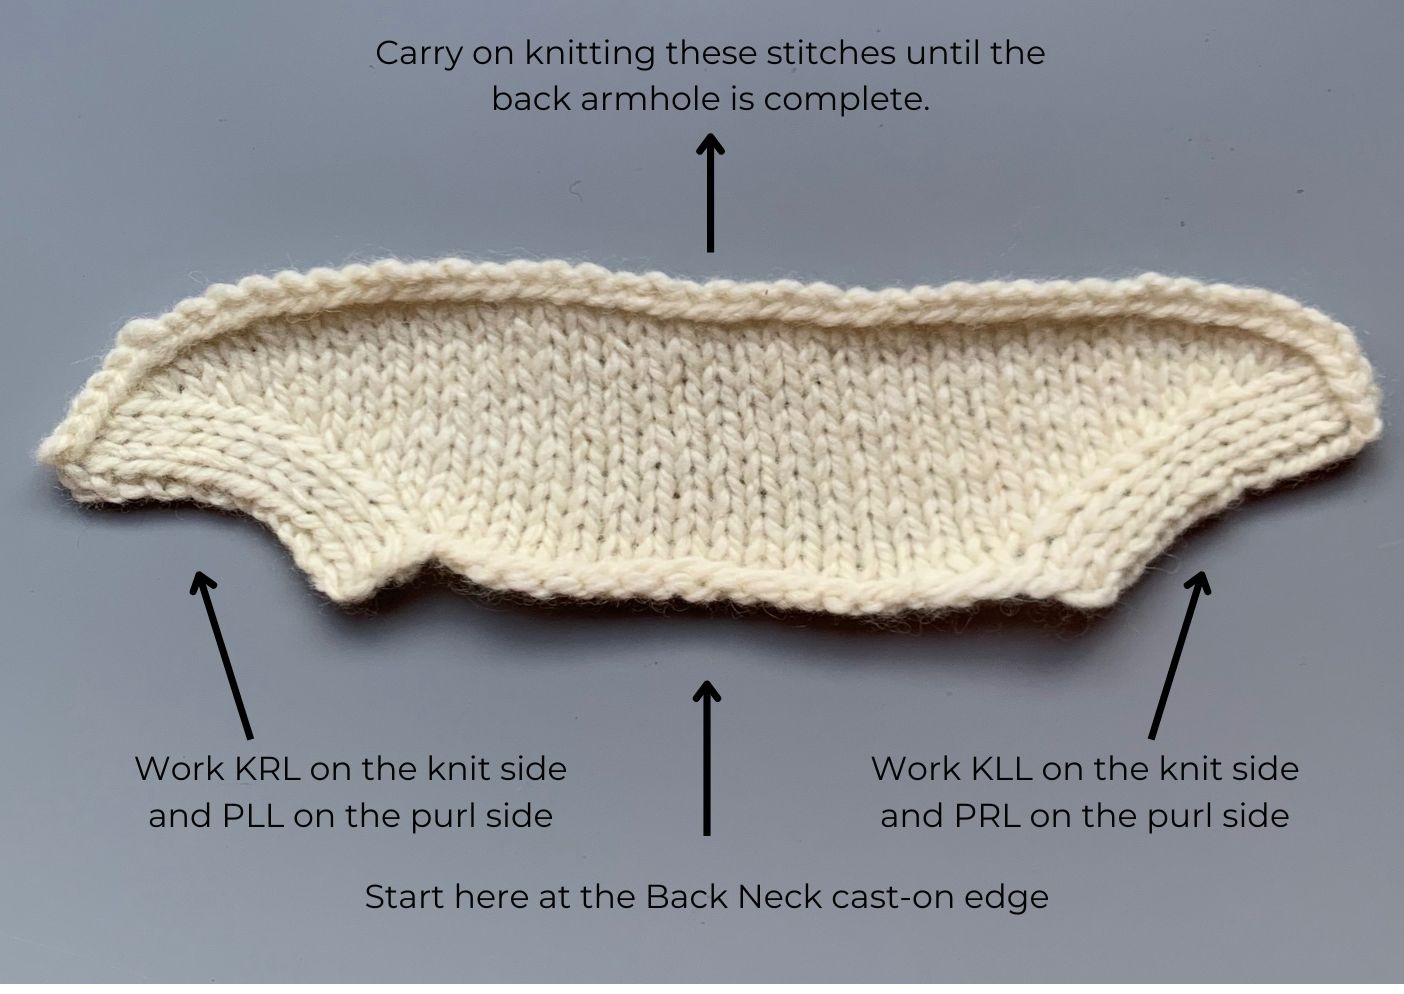
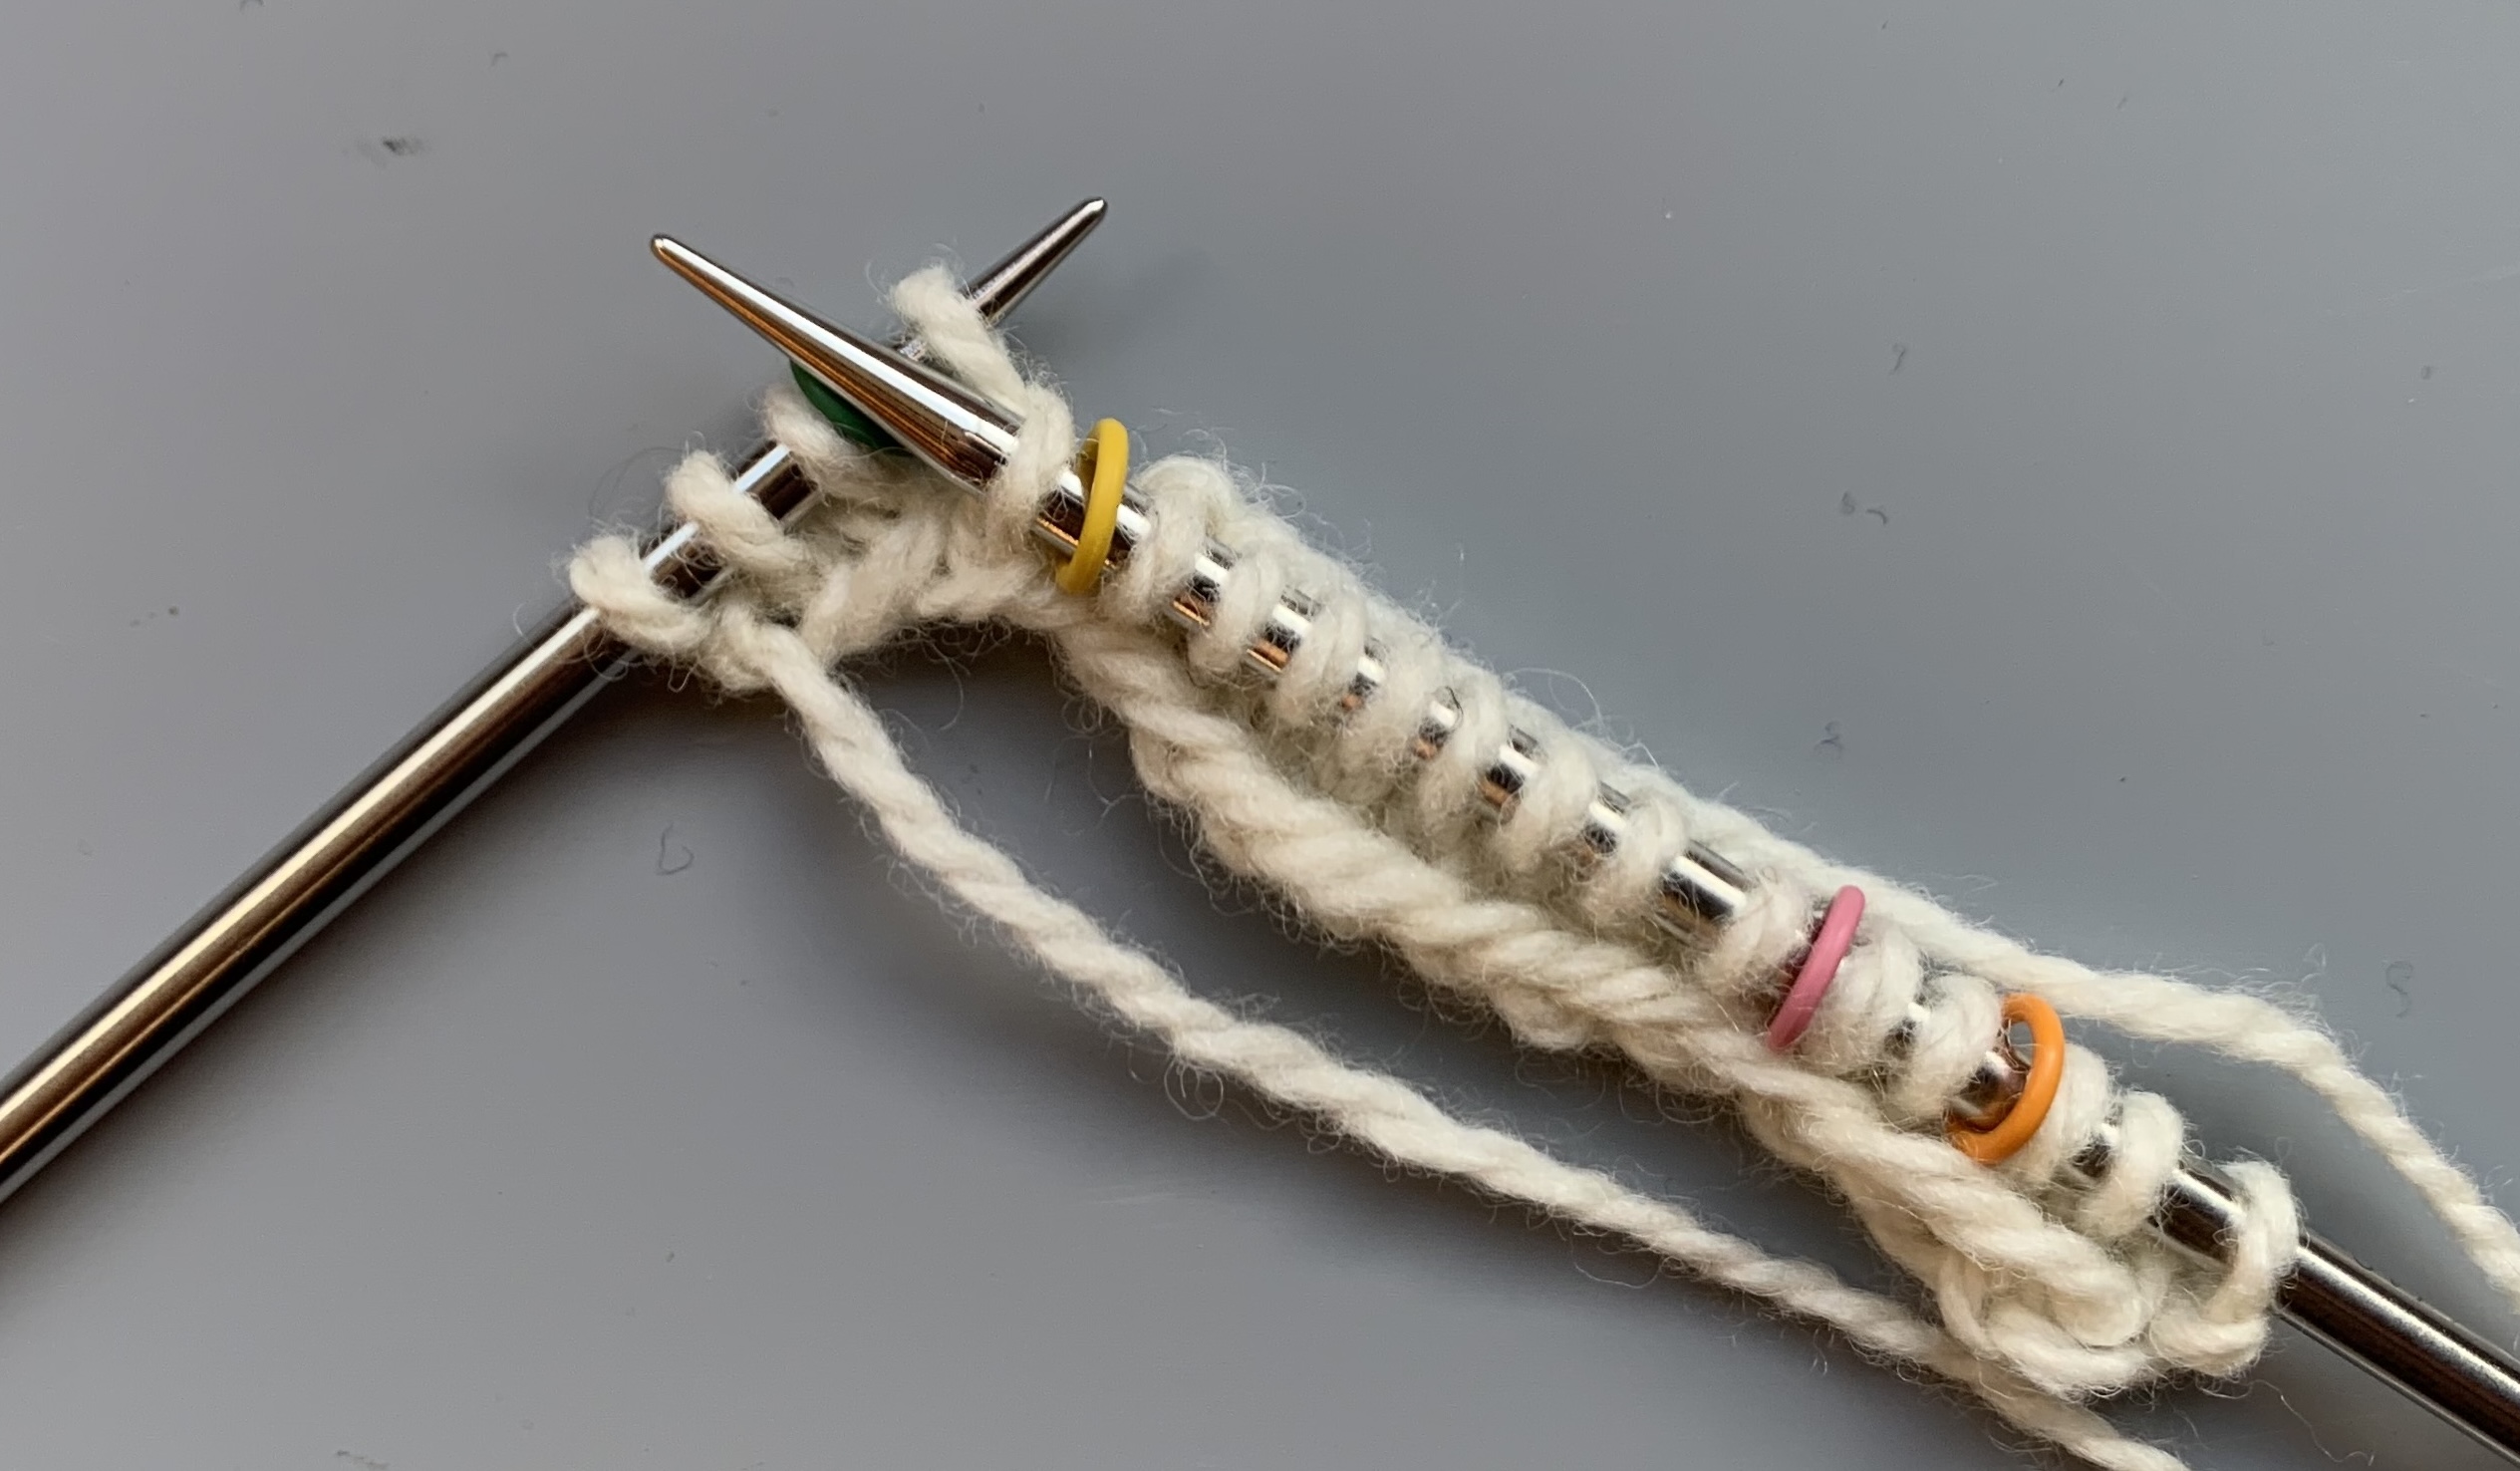
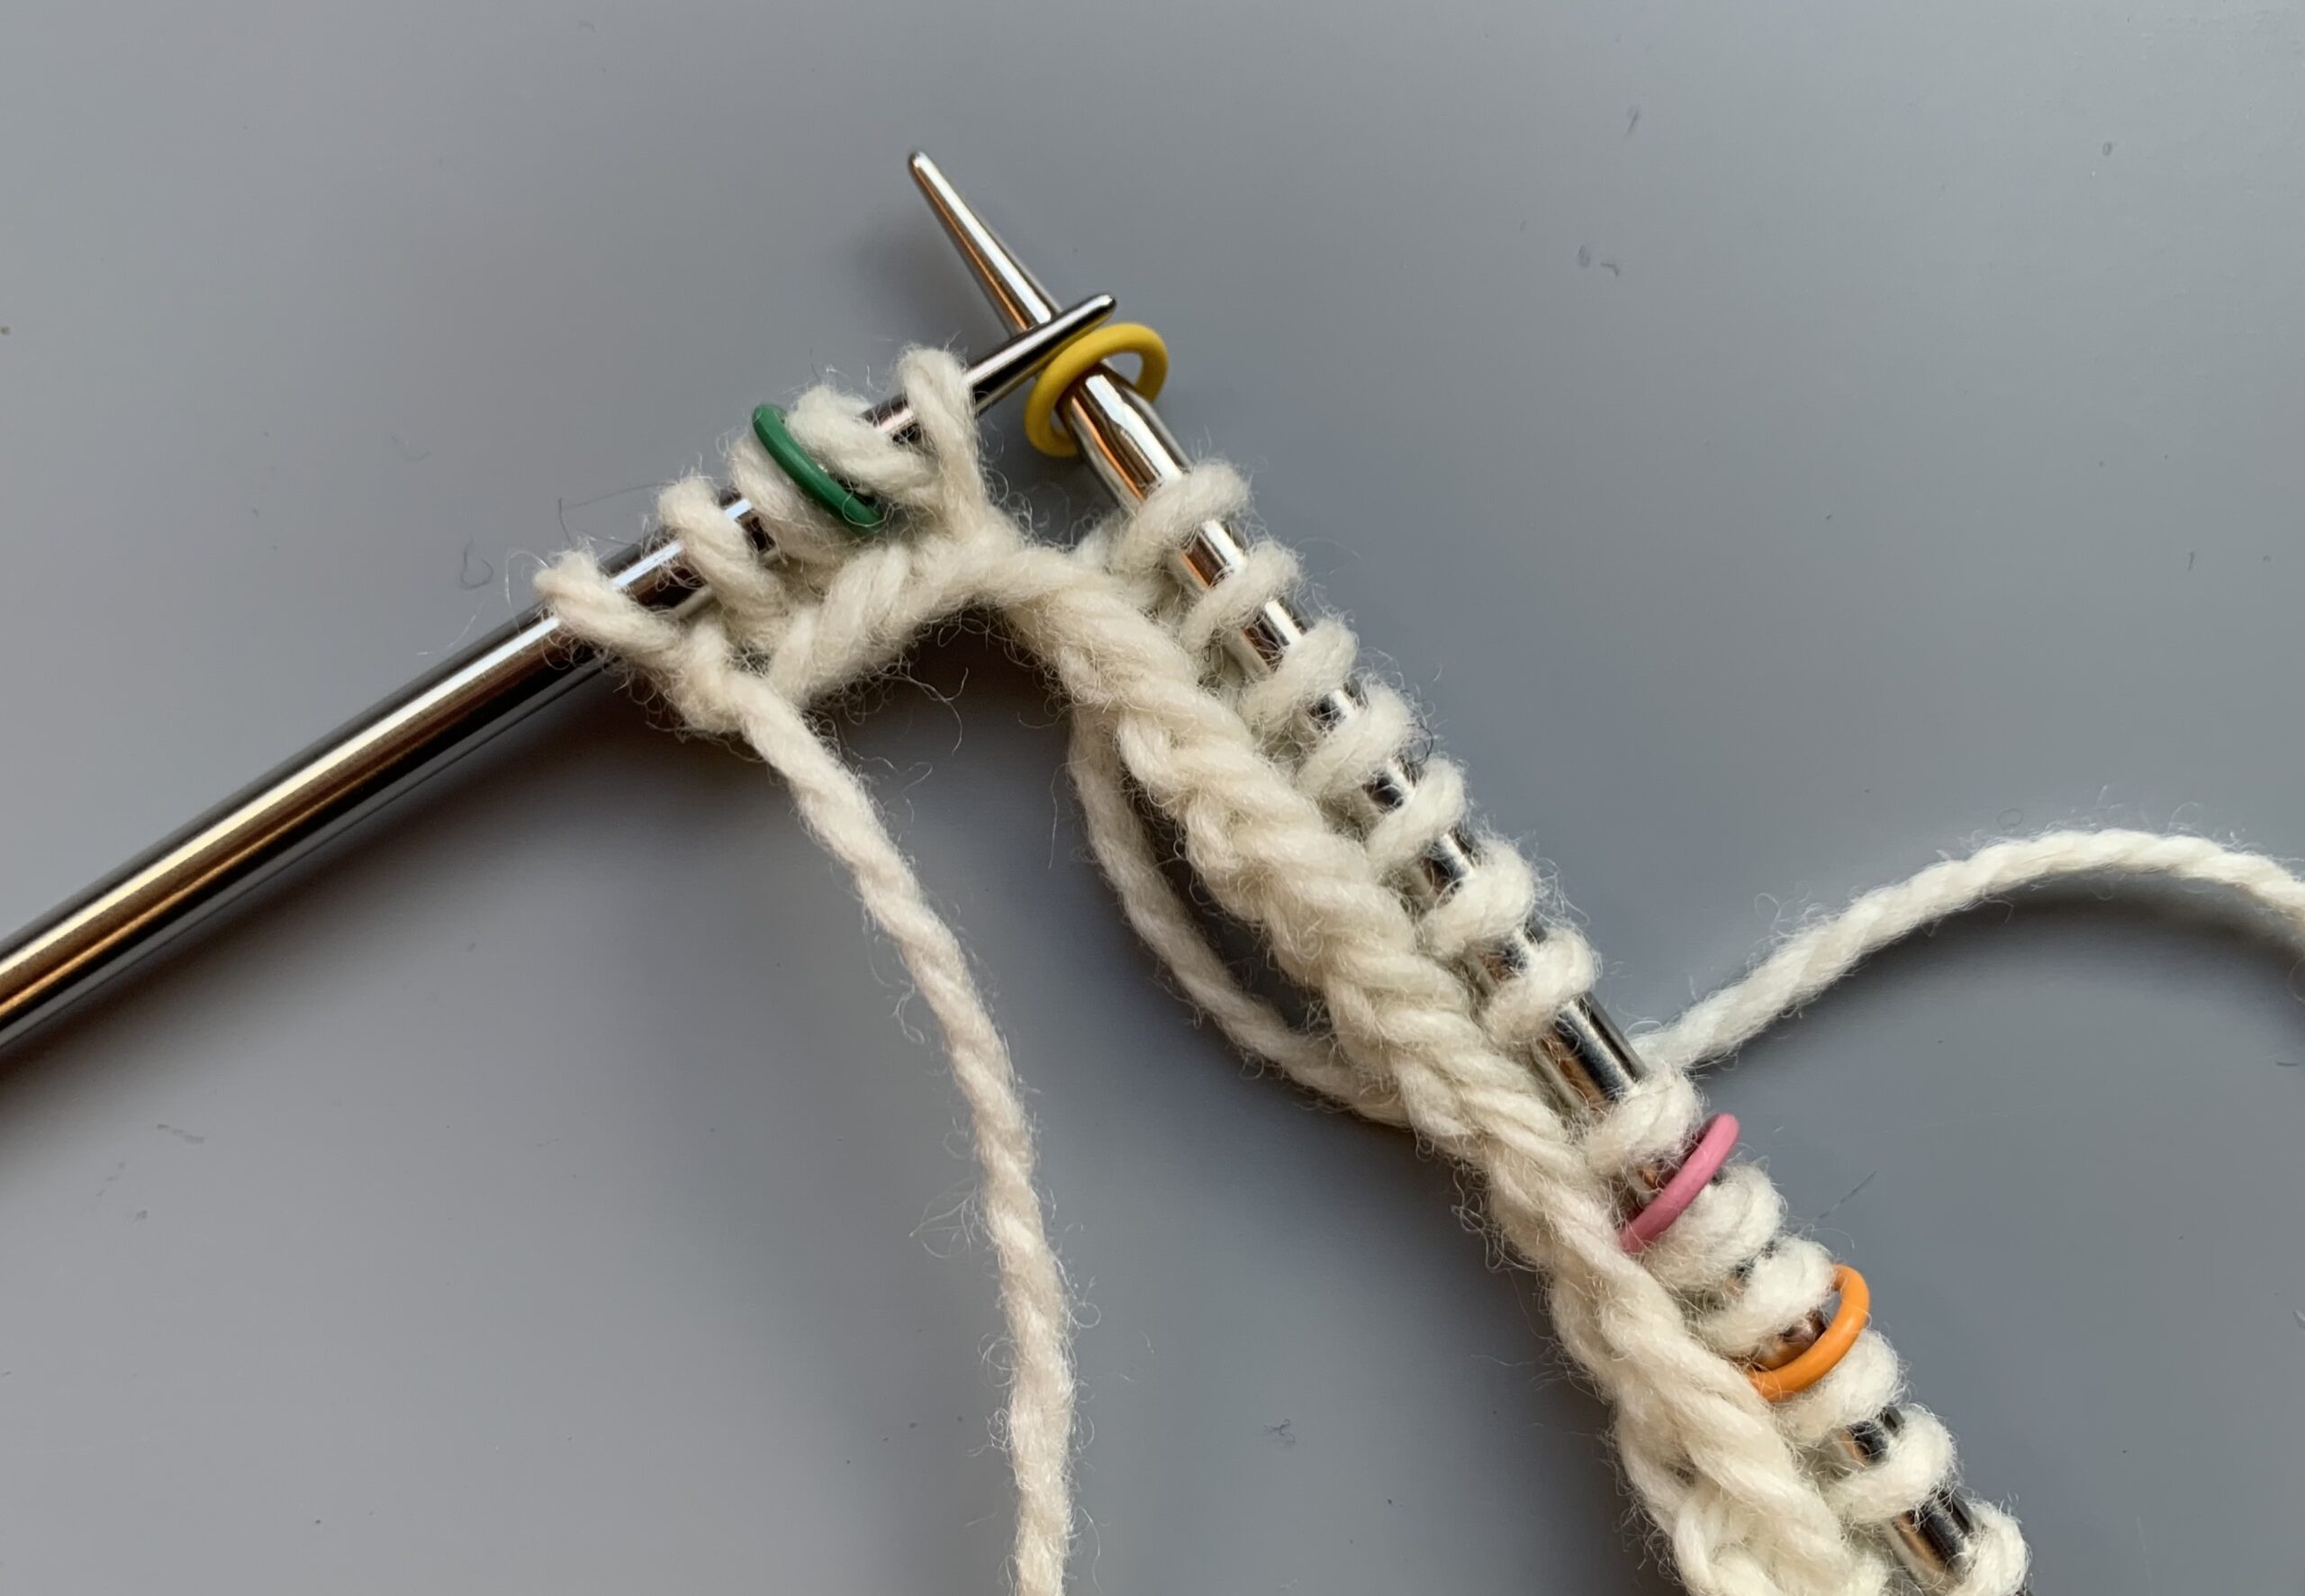
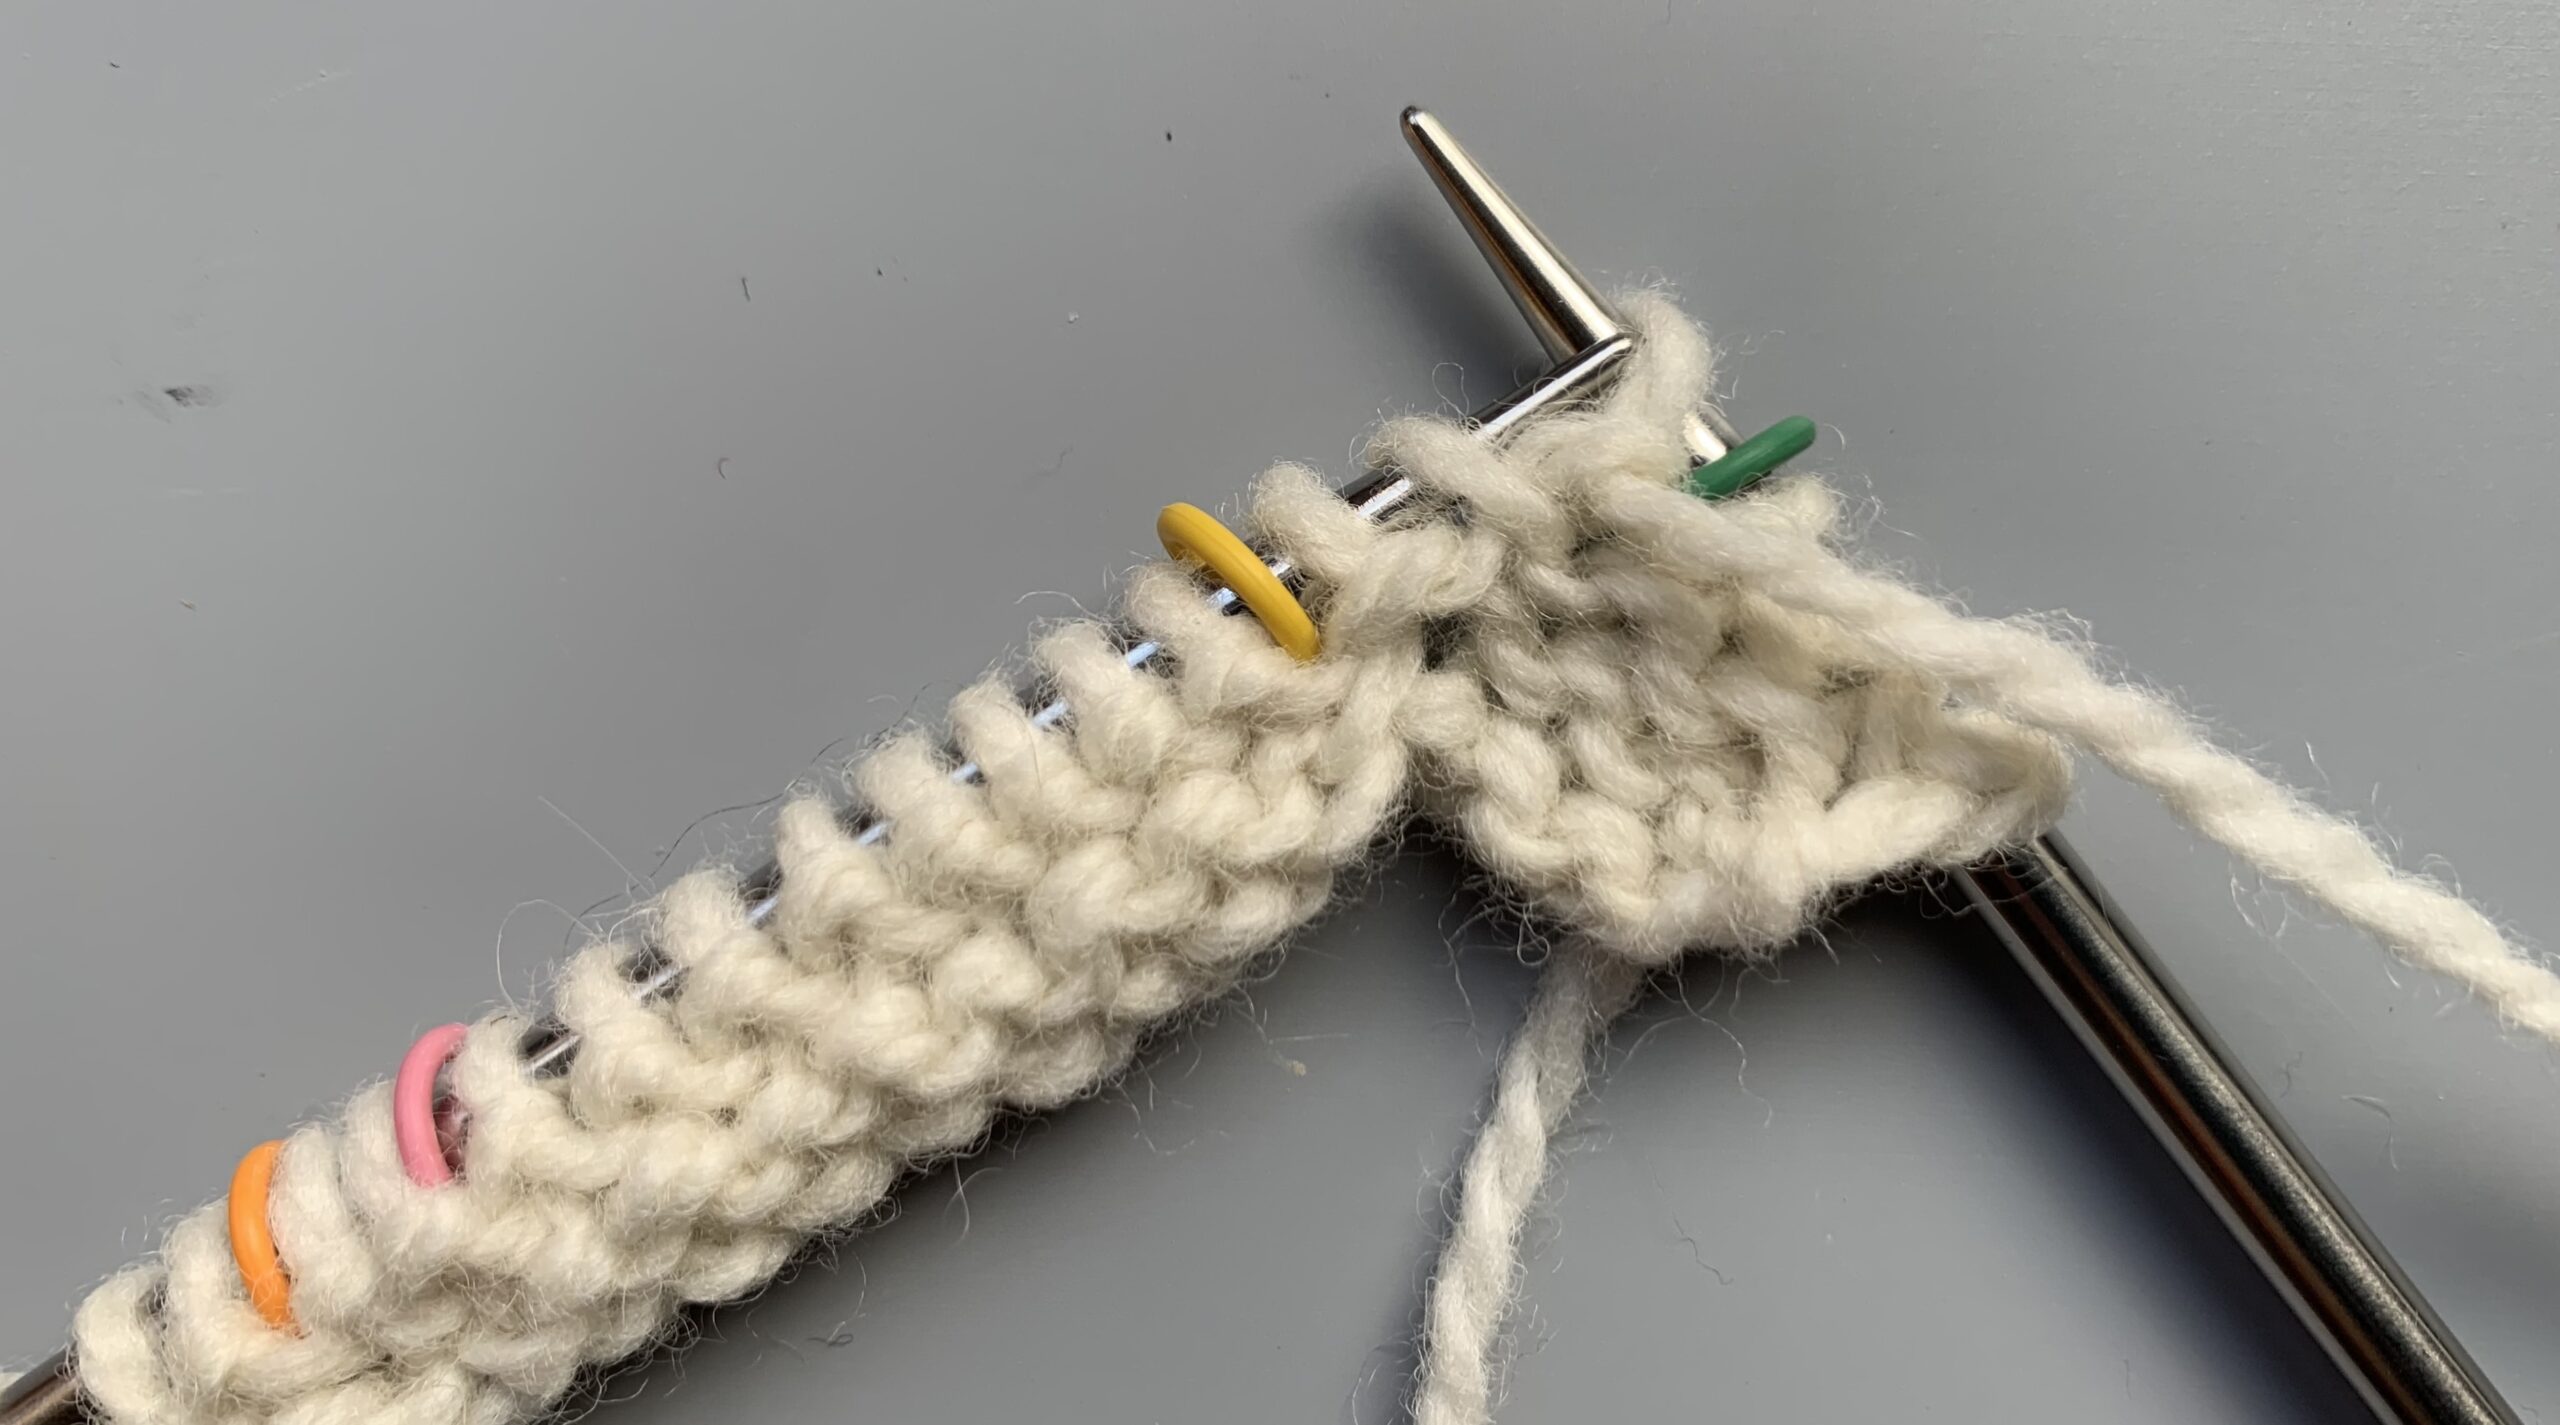
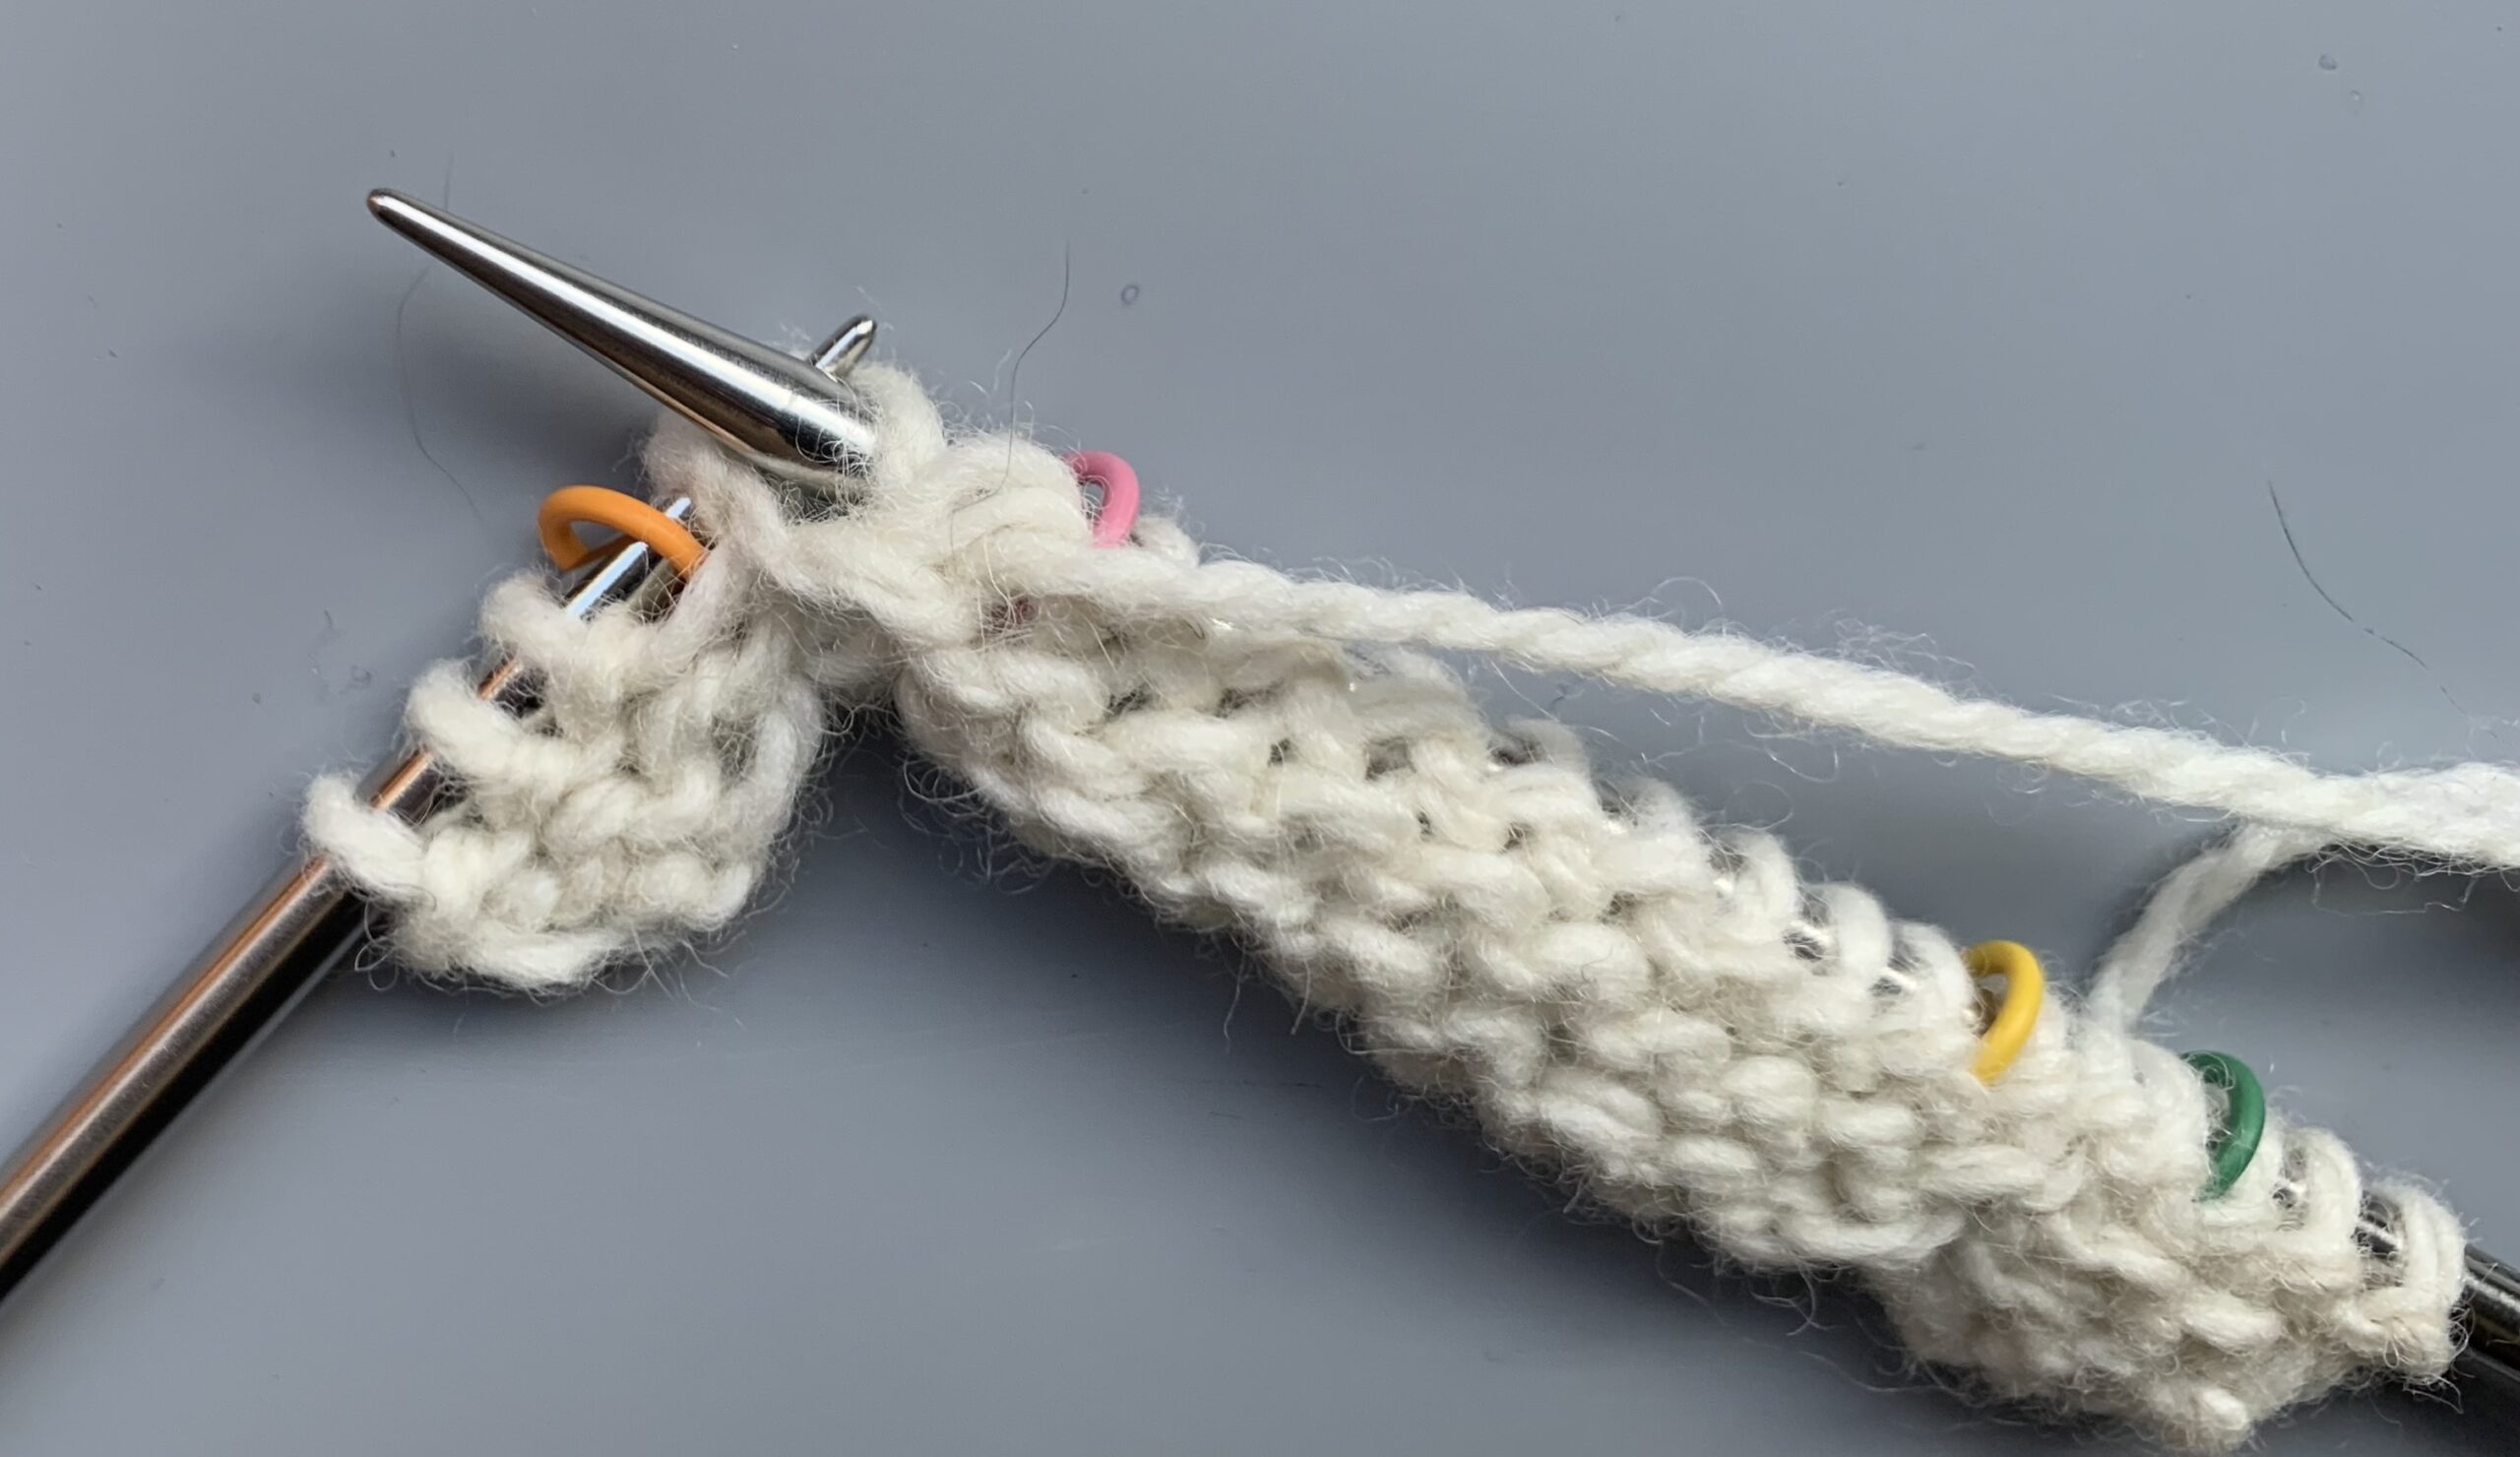
Here is a small sample to show the structure of the upper back and shoulder shaping.
After the first (WS) row you will have a stitch marker placed three stitches in from each end of the row.
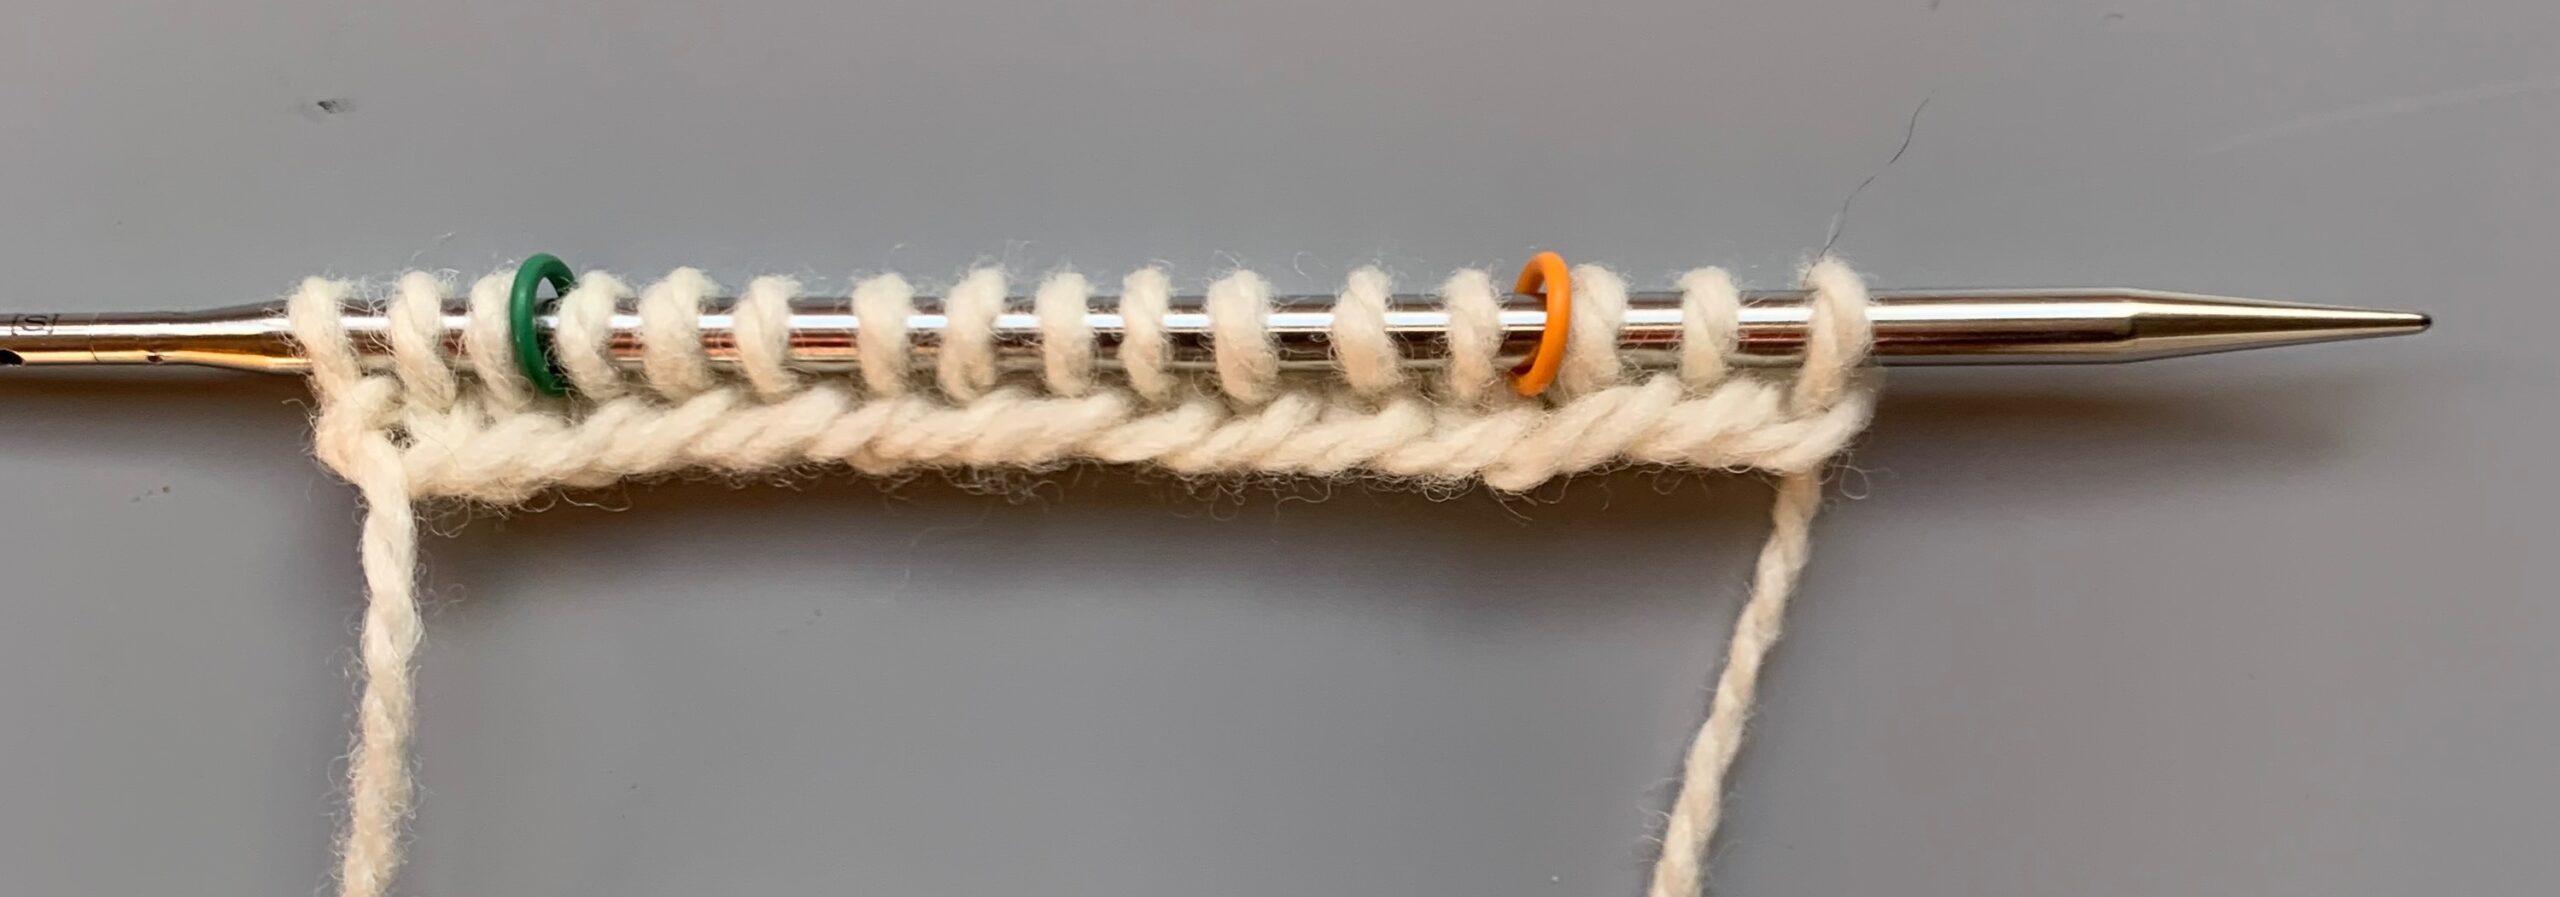
After the first (WS) row you will have a stitch marker placed three stitches in from each end of the row.
KLL: Knit Left Loop
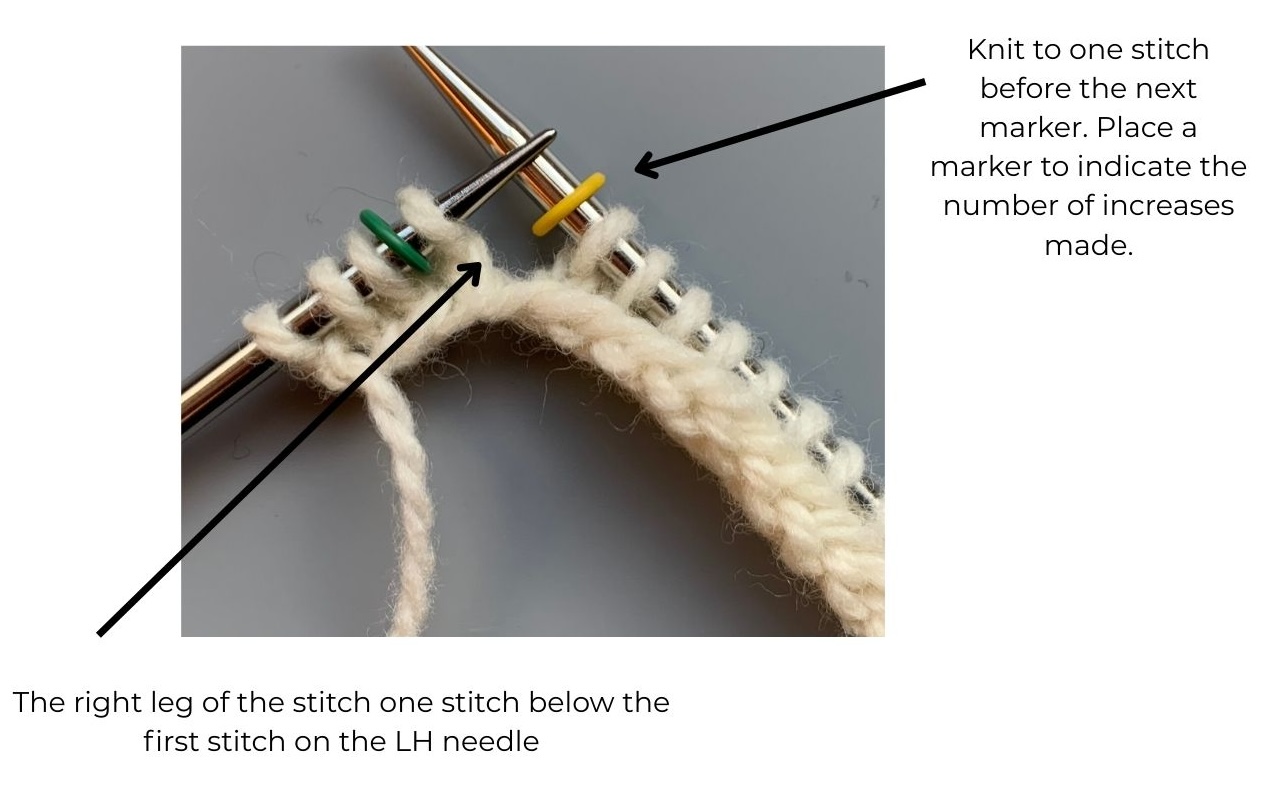
KLL: Knit Left Loop This is the first increase you come to. Knit the first stitch after the marker, this allows you to lift the left loop of the stitch which is now TWO rows below.
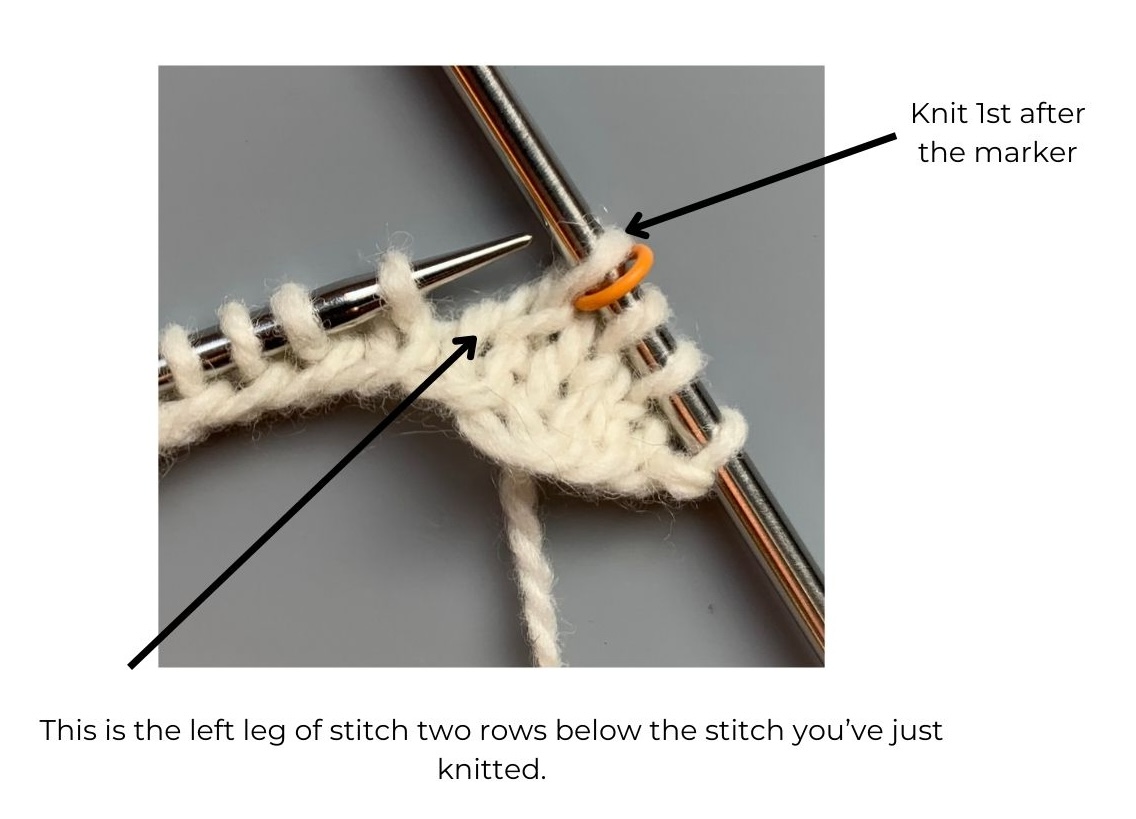
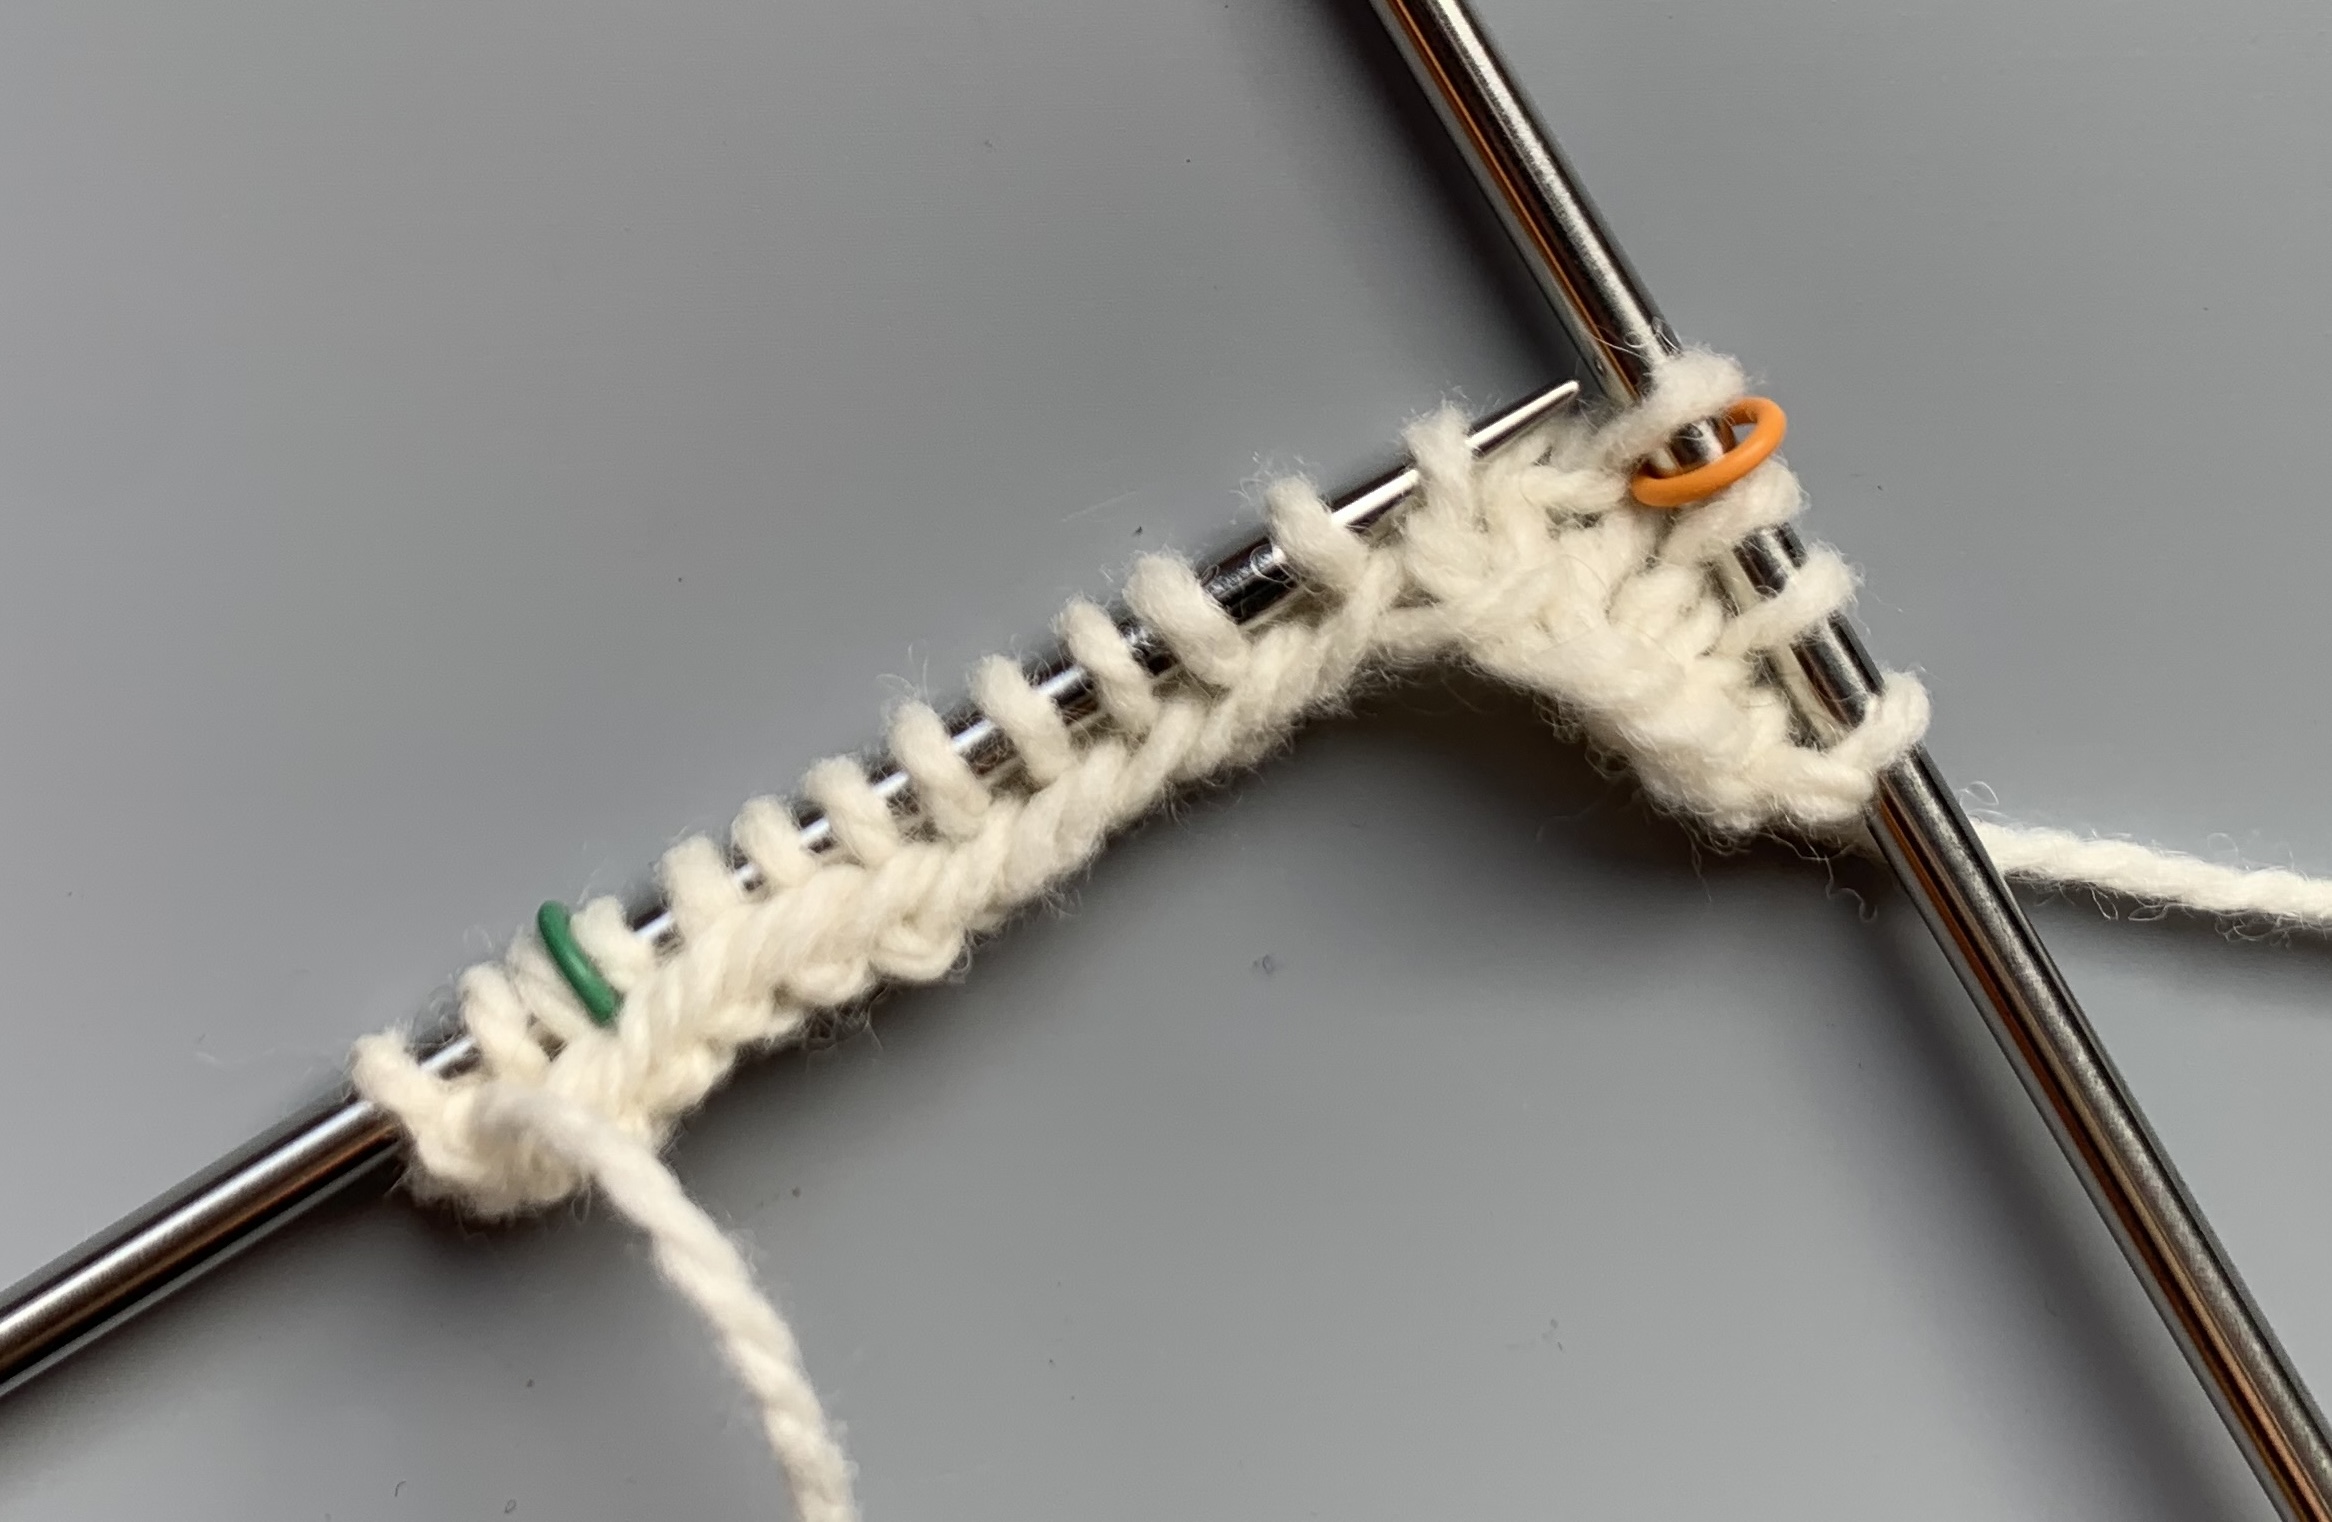
Insert your LH needle from the BACK to the front of the left leg of this stitch.
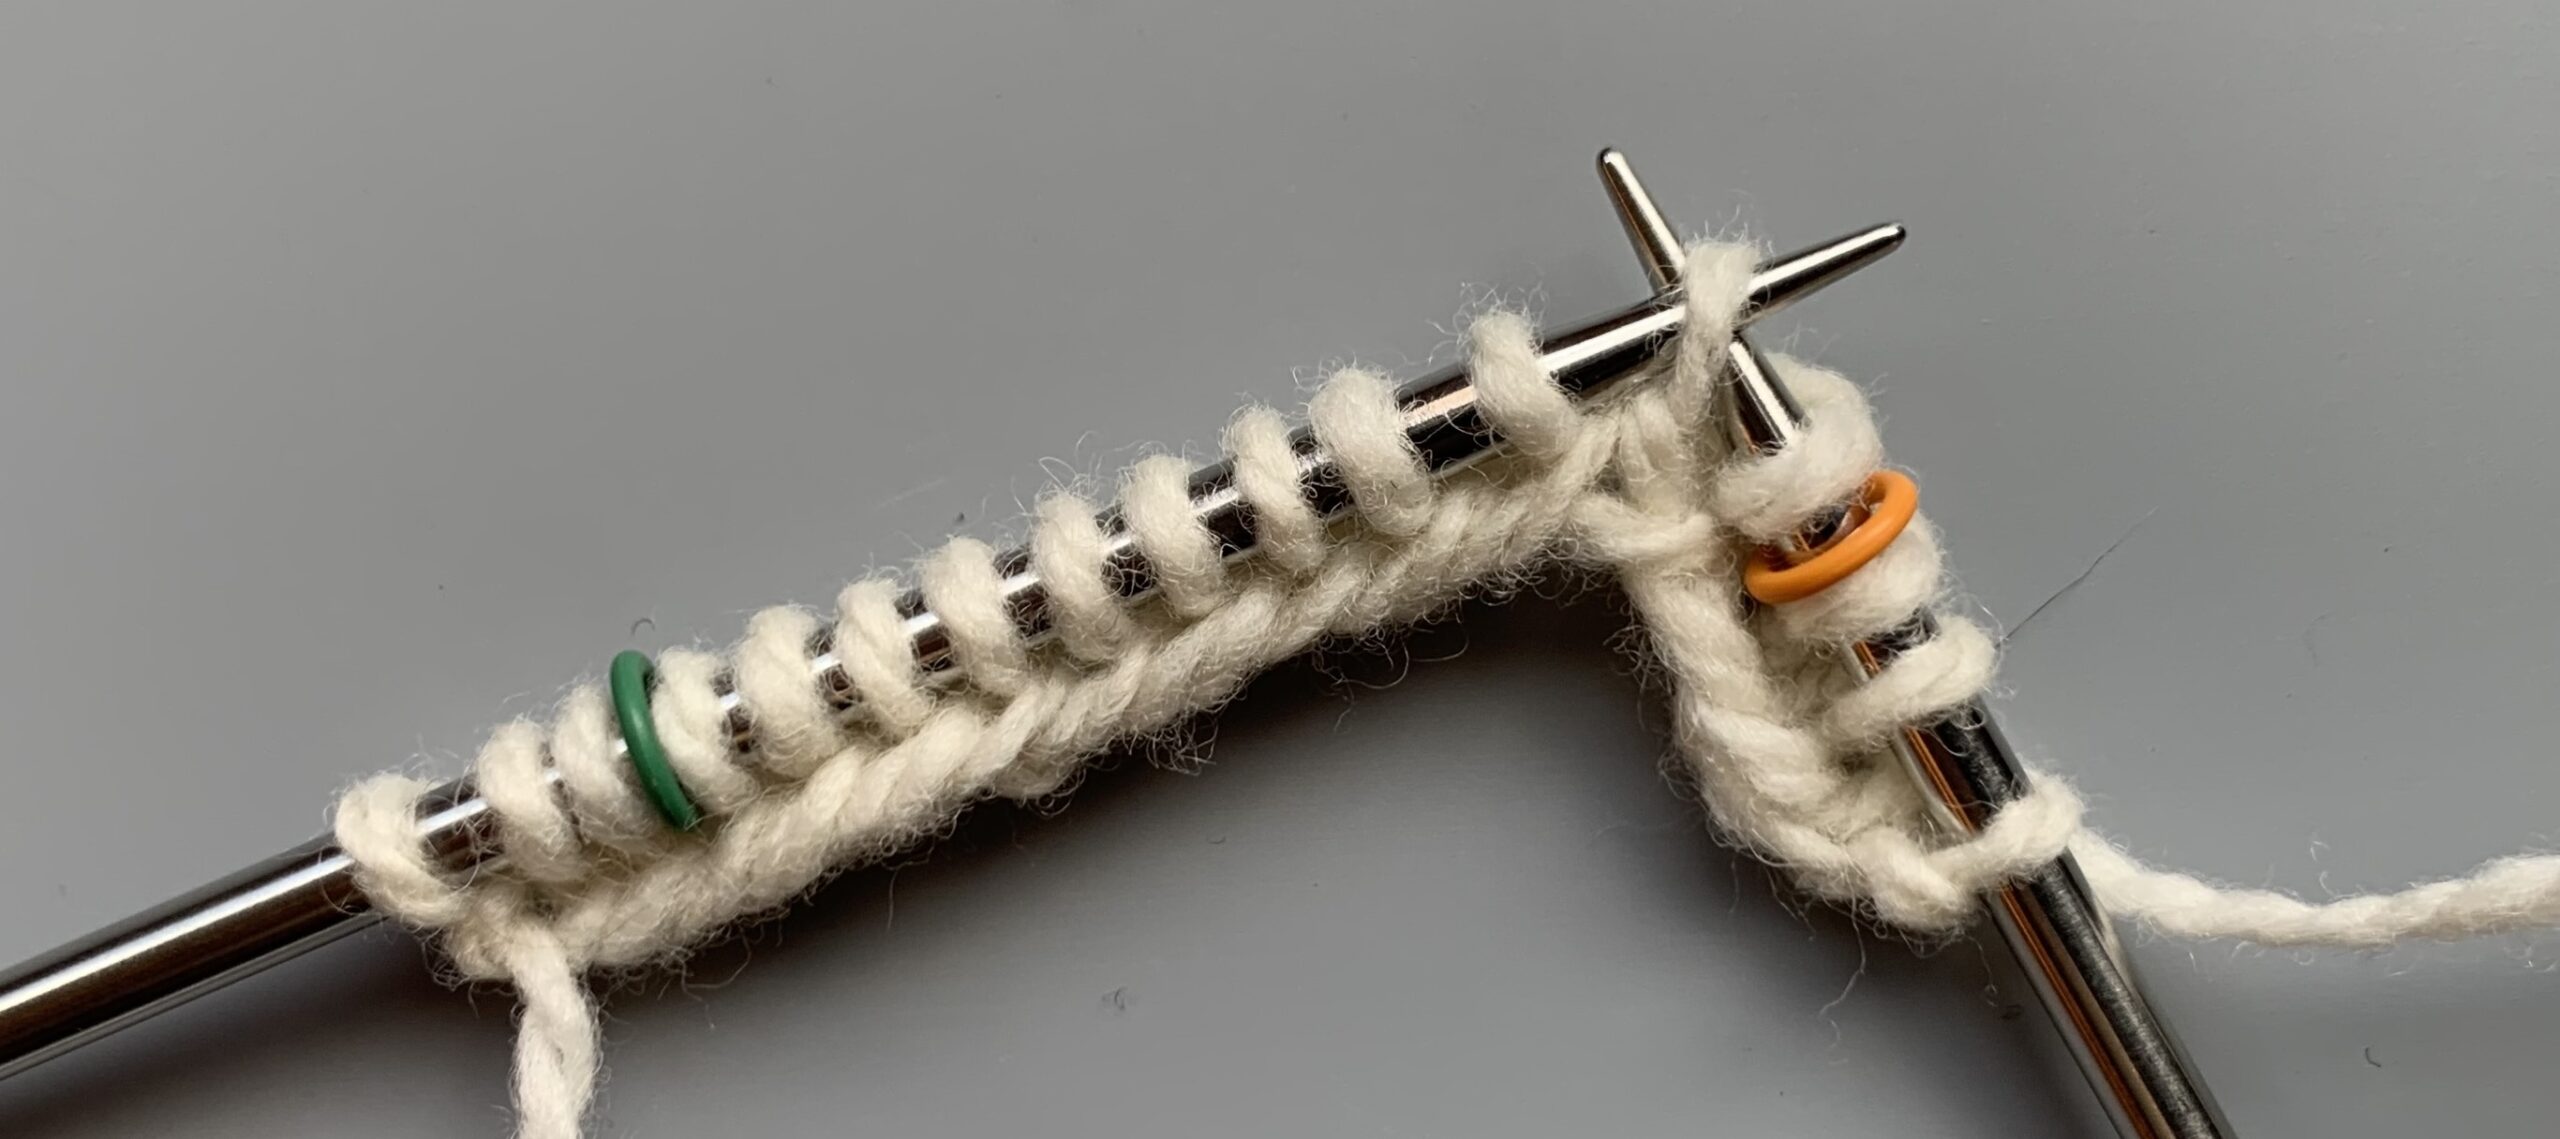
The back leg of the stitch is forward of the front leg so knit the stitch through the back loop, this avoids twisting the stitch.
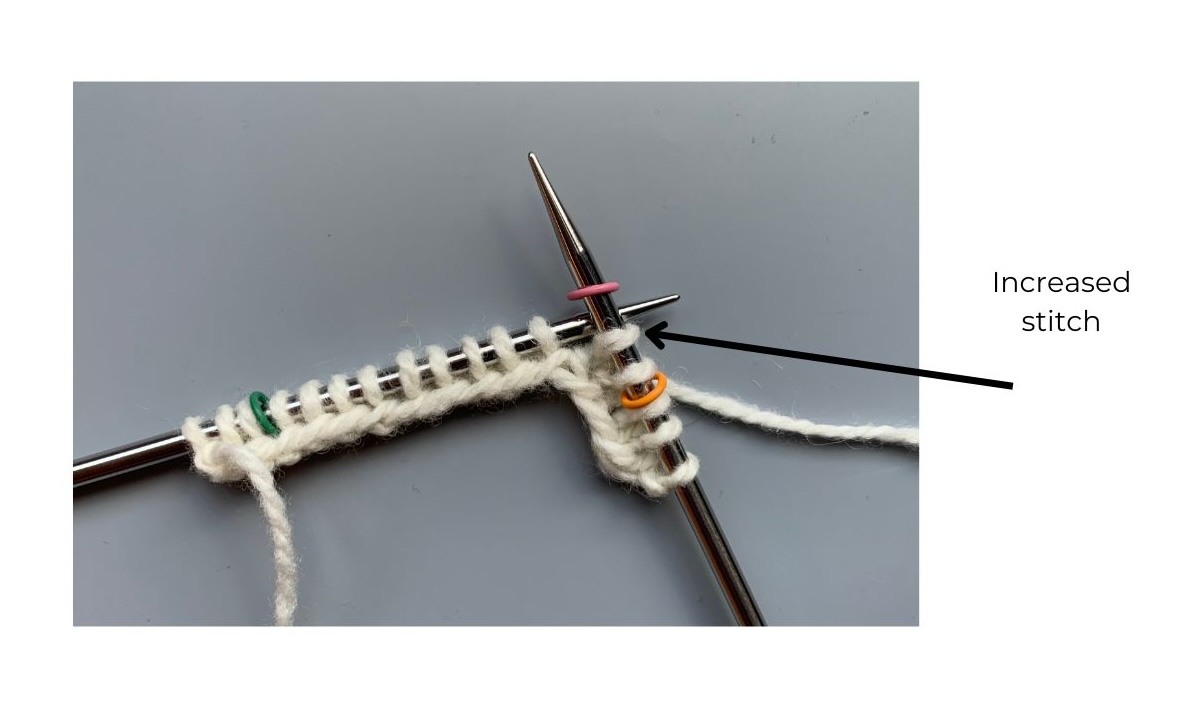
That is KLL: Knit Left Loop. Place a marker immediately after the increased stitch. This is not essential but if you loose track of the number of increases you have made count the stitches between the markers. It equals the number of increases plus one (the knit stitch).
KRL: Knit Right Loop
This is the left leaning increase made into the stitch immediately below.
Insert the RH needle under the right leg from the BACK to the front.
Slip this stitch onto your LH needle and knit in the usual way as the stitch is orientated correctly.
You have one mirrored increase at each end. You then turn the work to increase at either end on the purl side.
PLL: Purl Left Loop
This is the left leaning increase on the purl side.
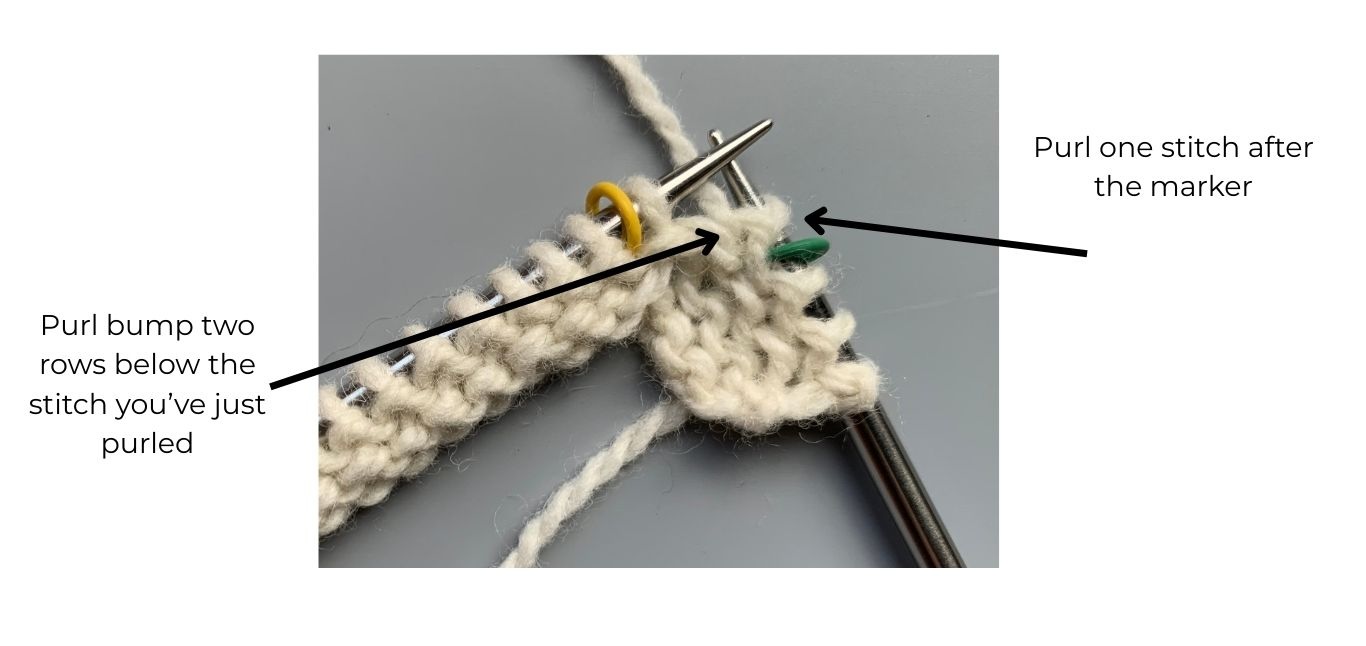
Insert your LH needle from the front, UNDER the purl bump of the stitch two rows below the stitch on your RH needle. You are effectively lifting the left hand side of the stitch. Lift the loop onto you LH needle and as it is orientated correctly purl the stitch in the usual way.
PRL: Purl Right Loop
The right leaning increase on the purl side.
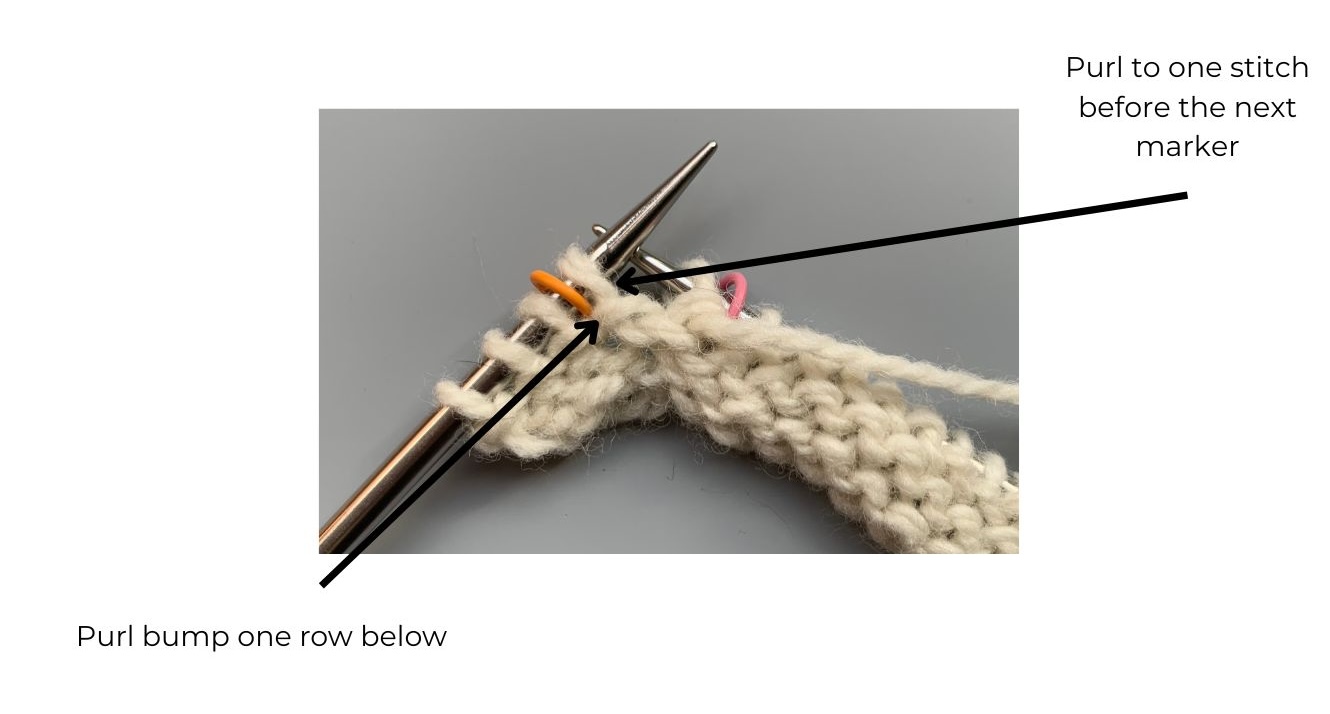
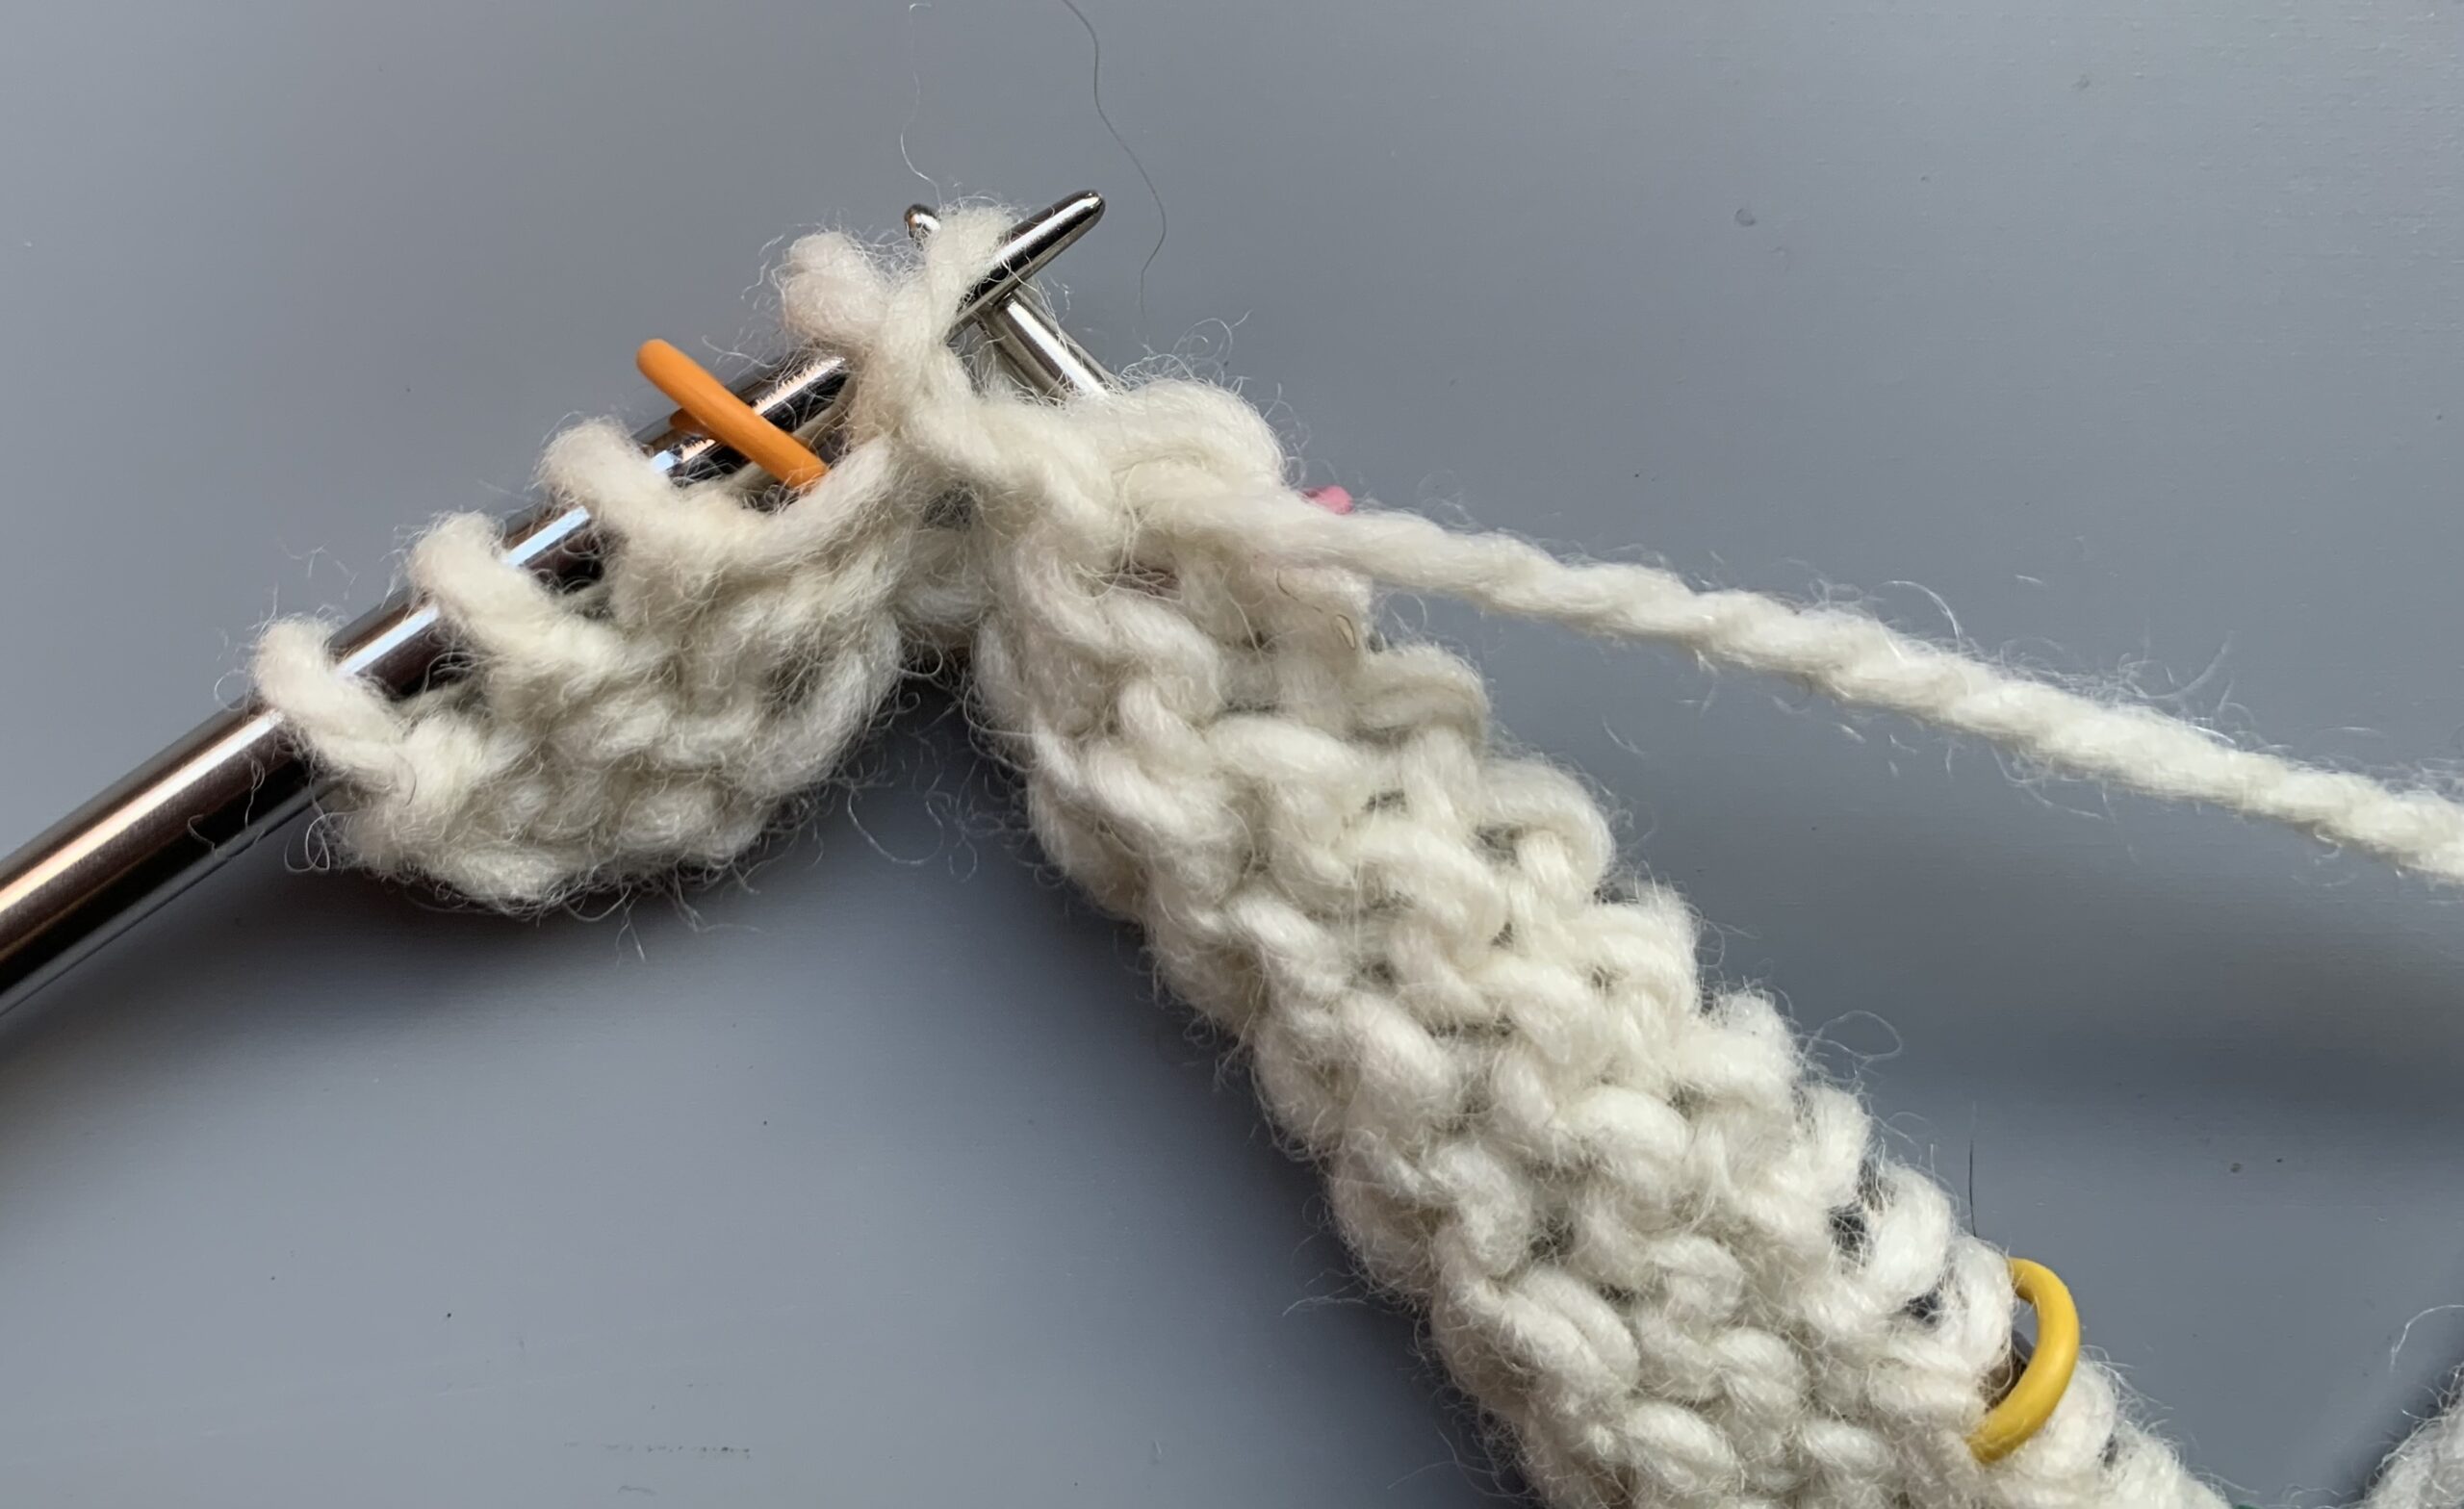
Insert your RH needle from the front, UNDER the purl bump of the stitch on the LH needle. Effectively lifting the right hand side of the stitch. Lift the loop onto the LH needle.
The back leg of the stitch is forward of the front so purl through the back loop to avoid twisting the stitch.
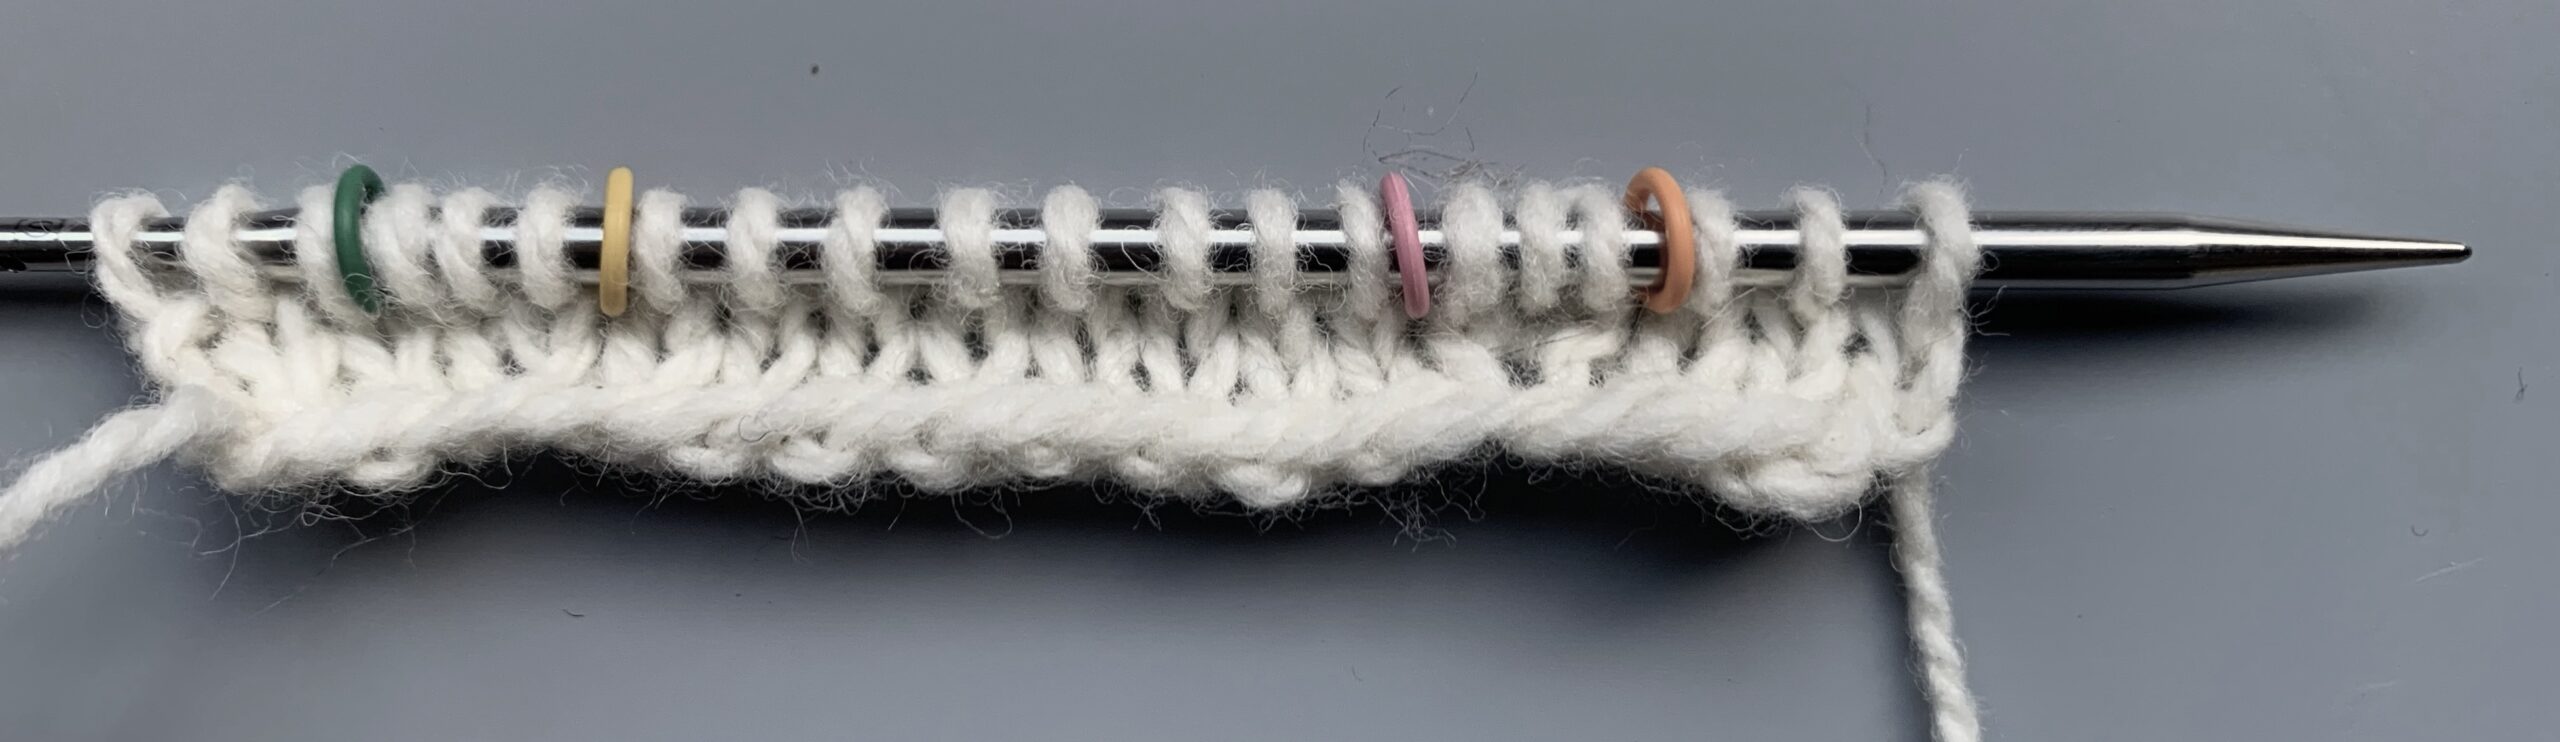
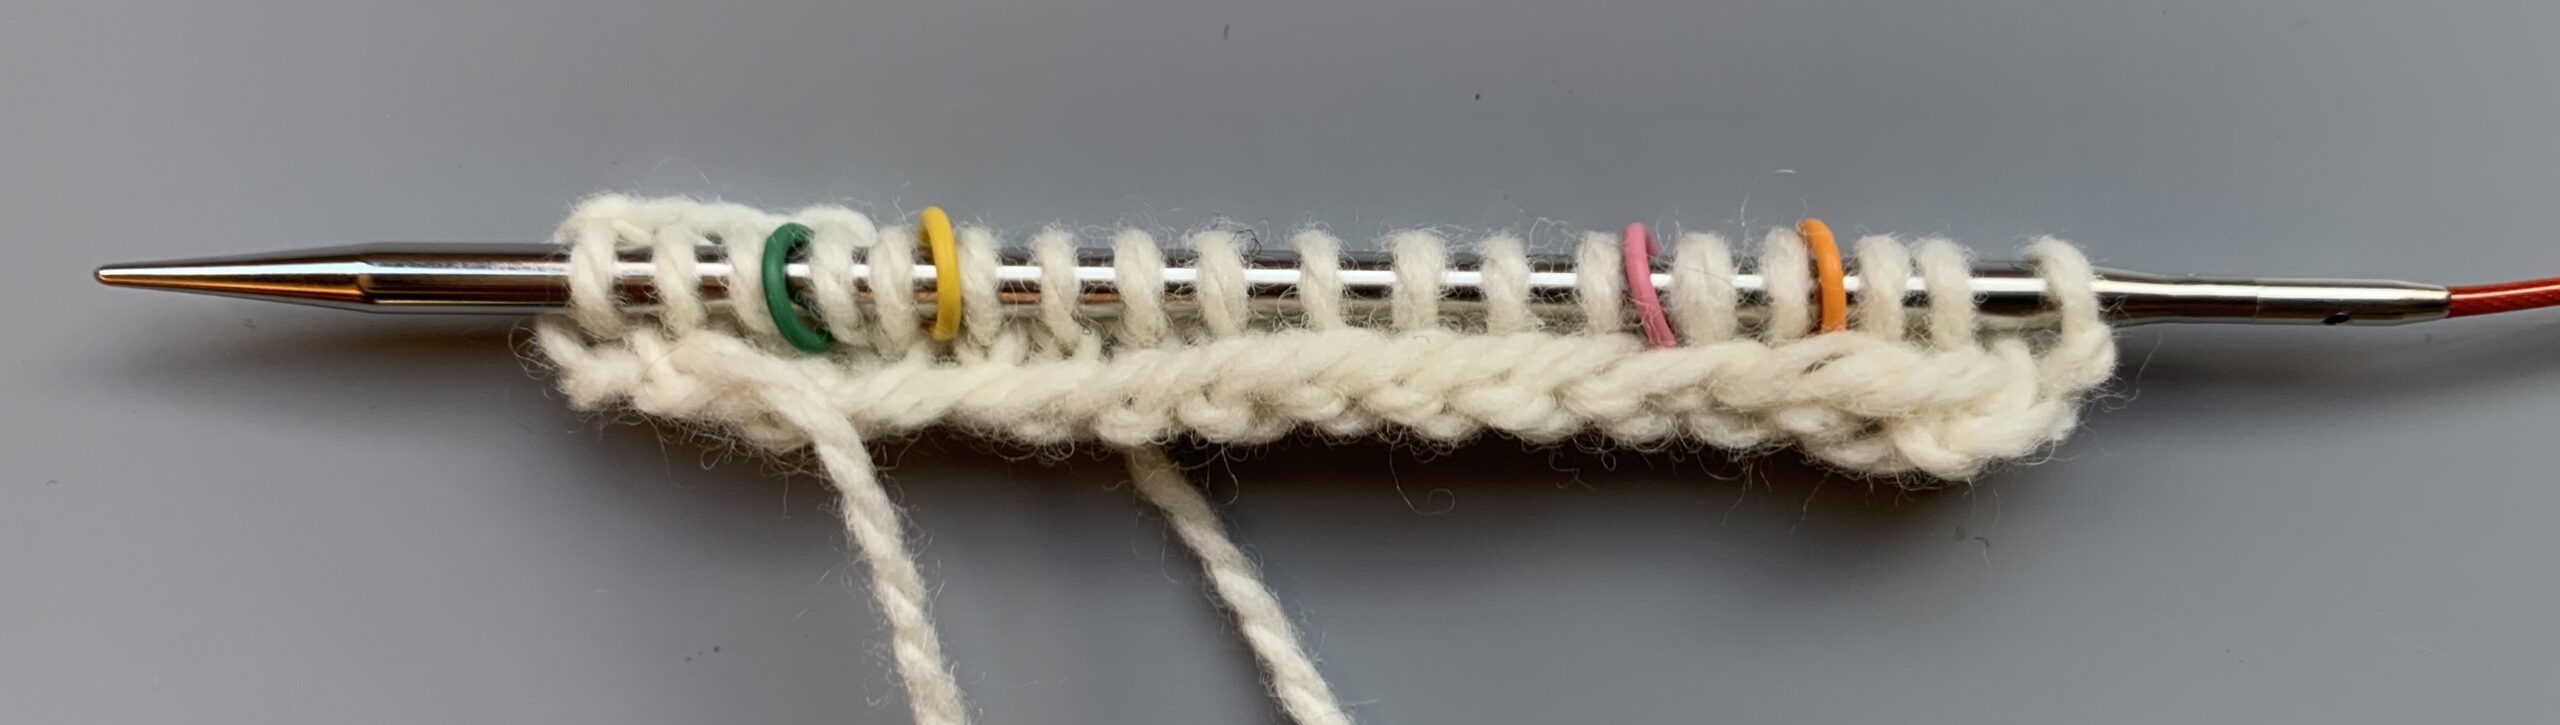
Check that you have made the correct number of increases by counting the stitches between the markers. Two stitches either end, one made on the RS and one made on the WS plus the stitch worked before and after the markers which don’t count as increases. Three in total.
To download a pdf for lifted increases click here